Friday, May 17, 2019

follow your dreams {Cut to You}


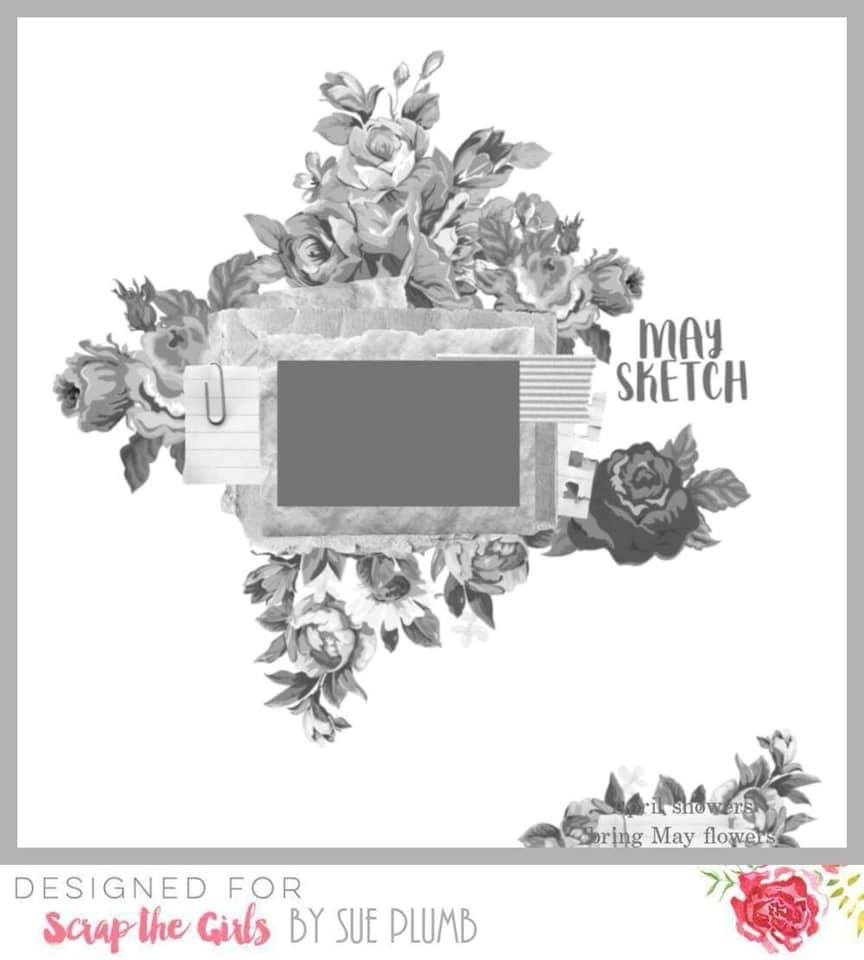
Hello scrappy friends! :) This month Cut to You is  sponsoring the May challenge at 'Scrap The Girls' and I played along with the wonderful sketch. 
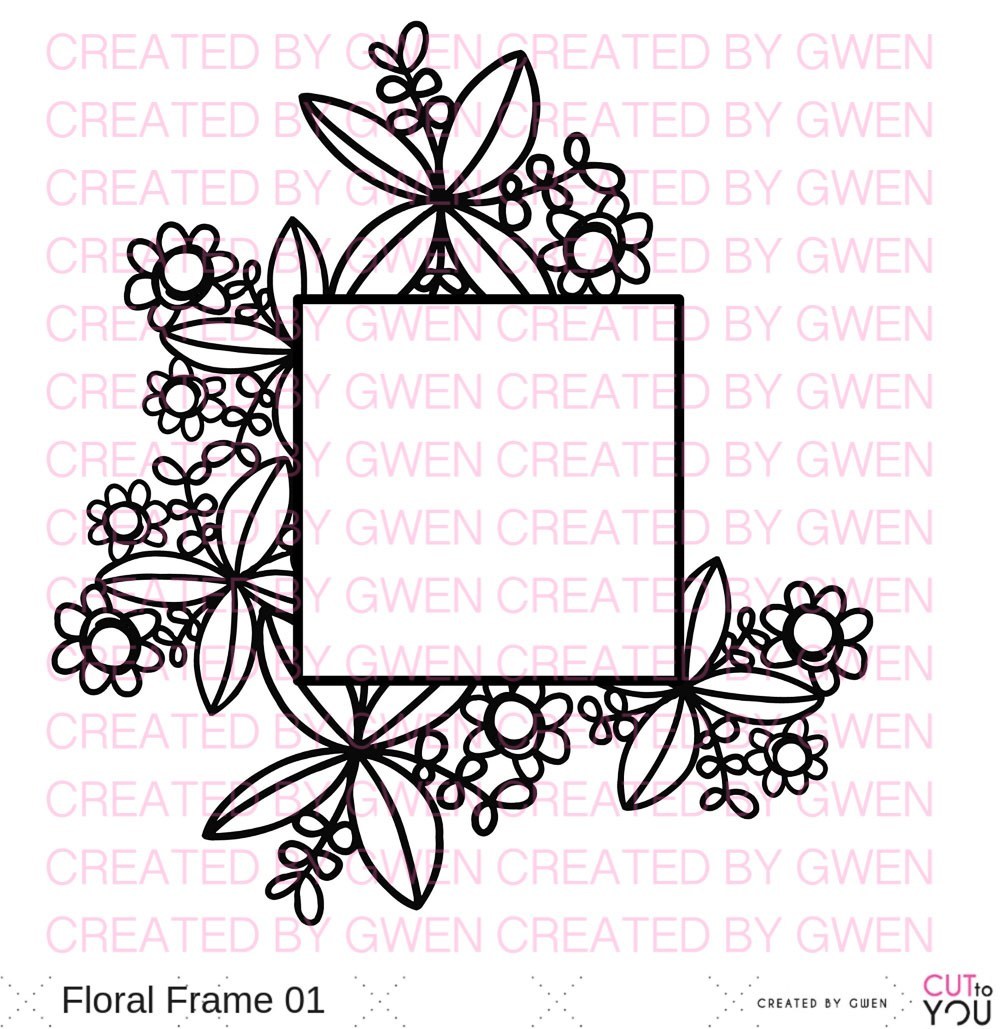
I used the new Floral Frame 01 cut file as the base (which works perfectly with the sketch) which I backed with patterned paper, and also added some unbacked florals that I cut apart from the Floral Cluster cut file. 
XFloralFrame01

58698592_419336221952690_5385091461001773056_nFloral-Cluster-01

savingPNG - Copy (21)

savingPNG - Copy (17)

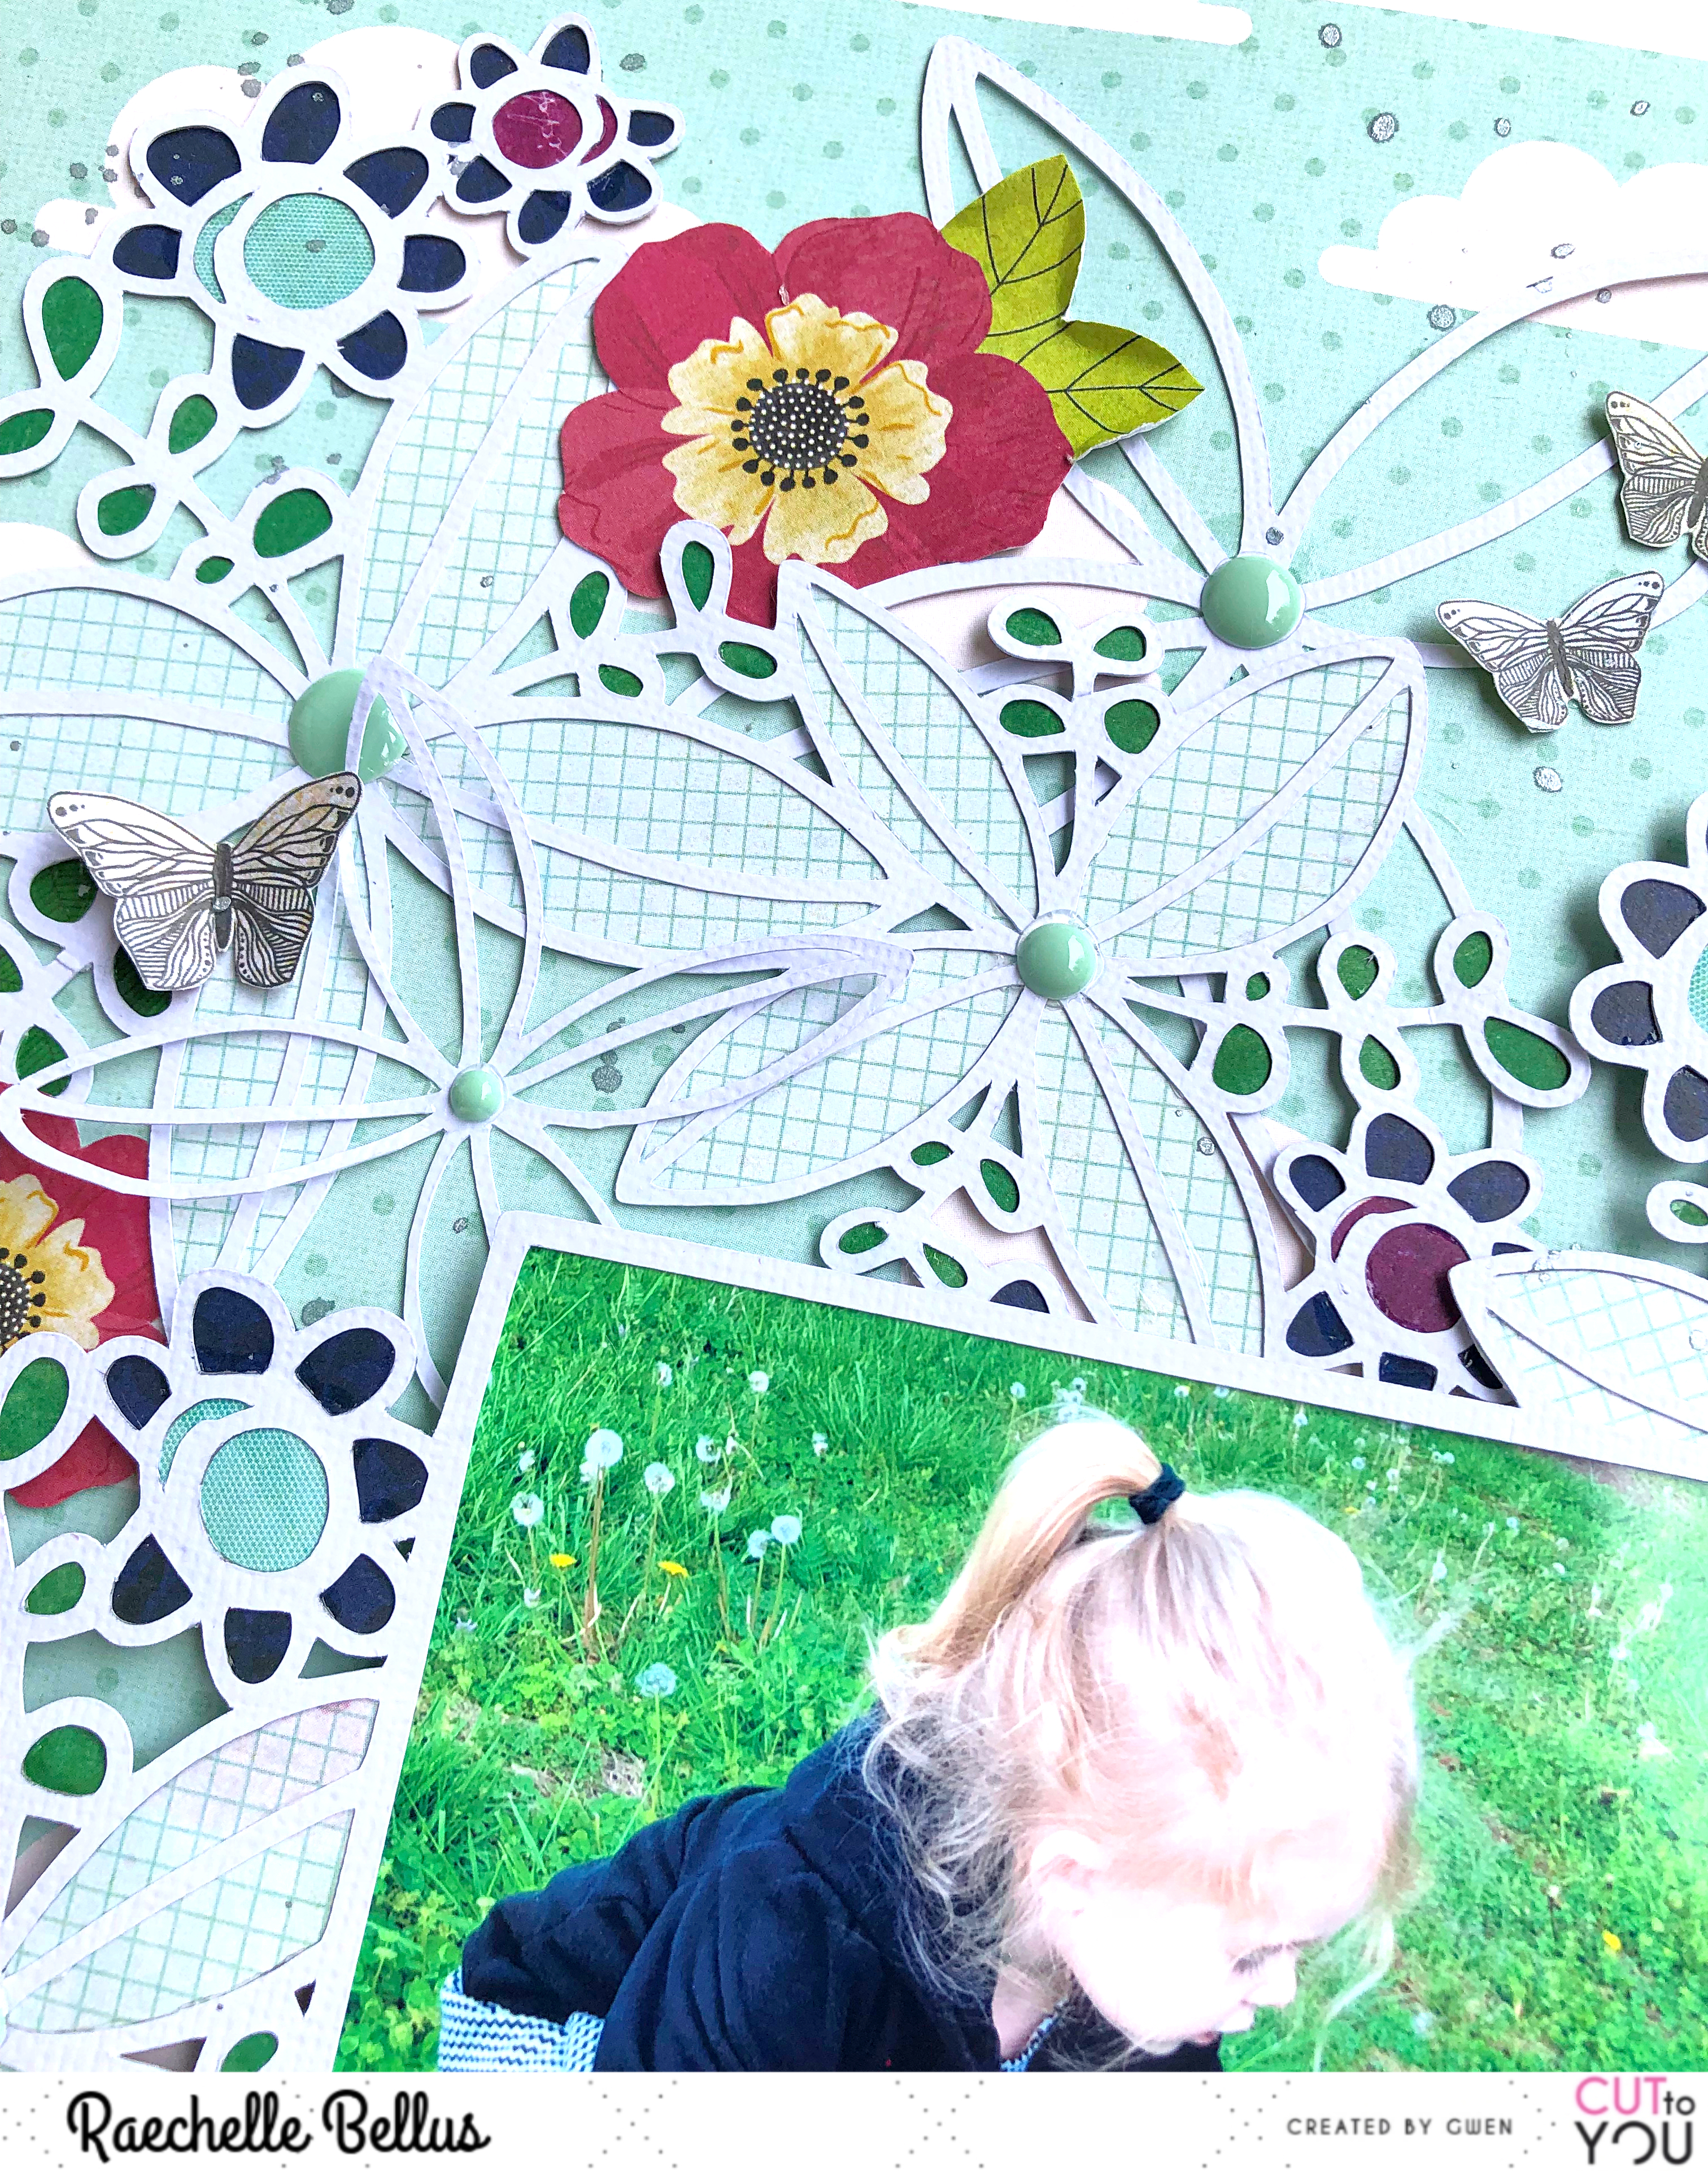
Leaving some of the florals open and adding them randomly underneath and atop the frame feature add dimension and visual interest to the layout. It's a simple, yet effective technique and creates a fun touch of whimsy. 
savingPNG - Copy (19)

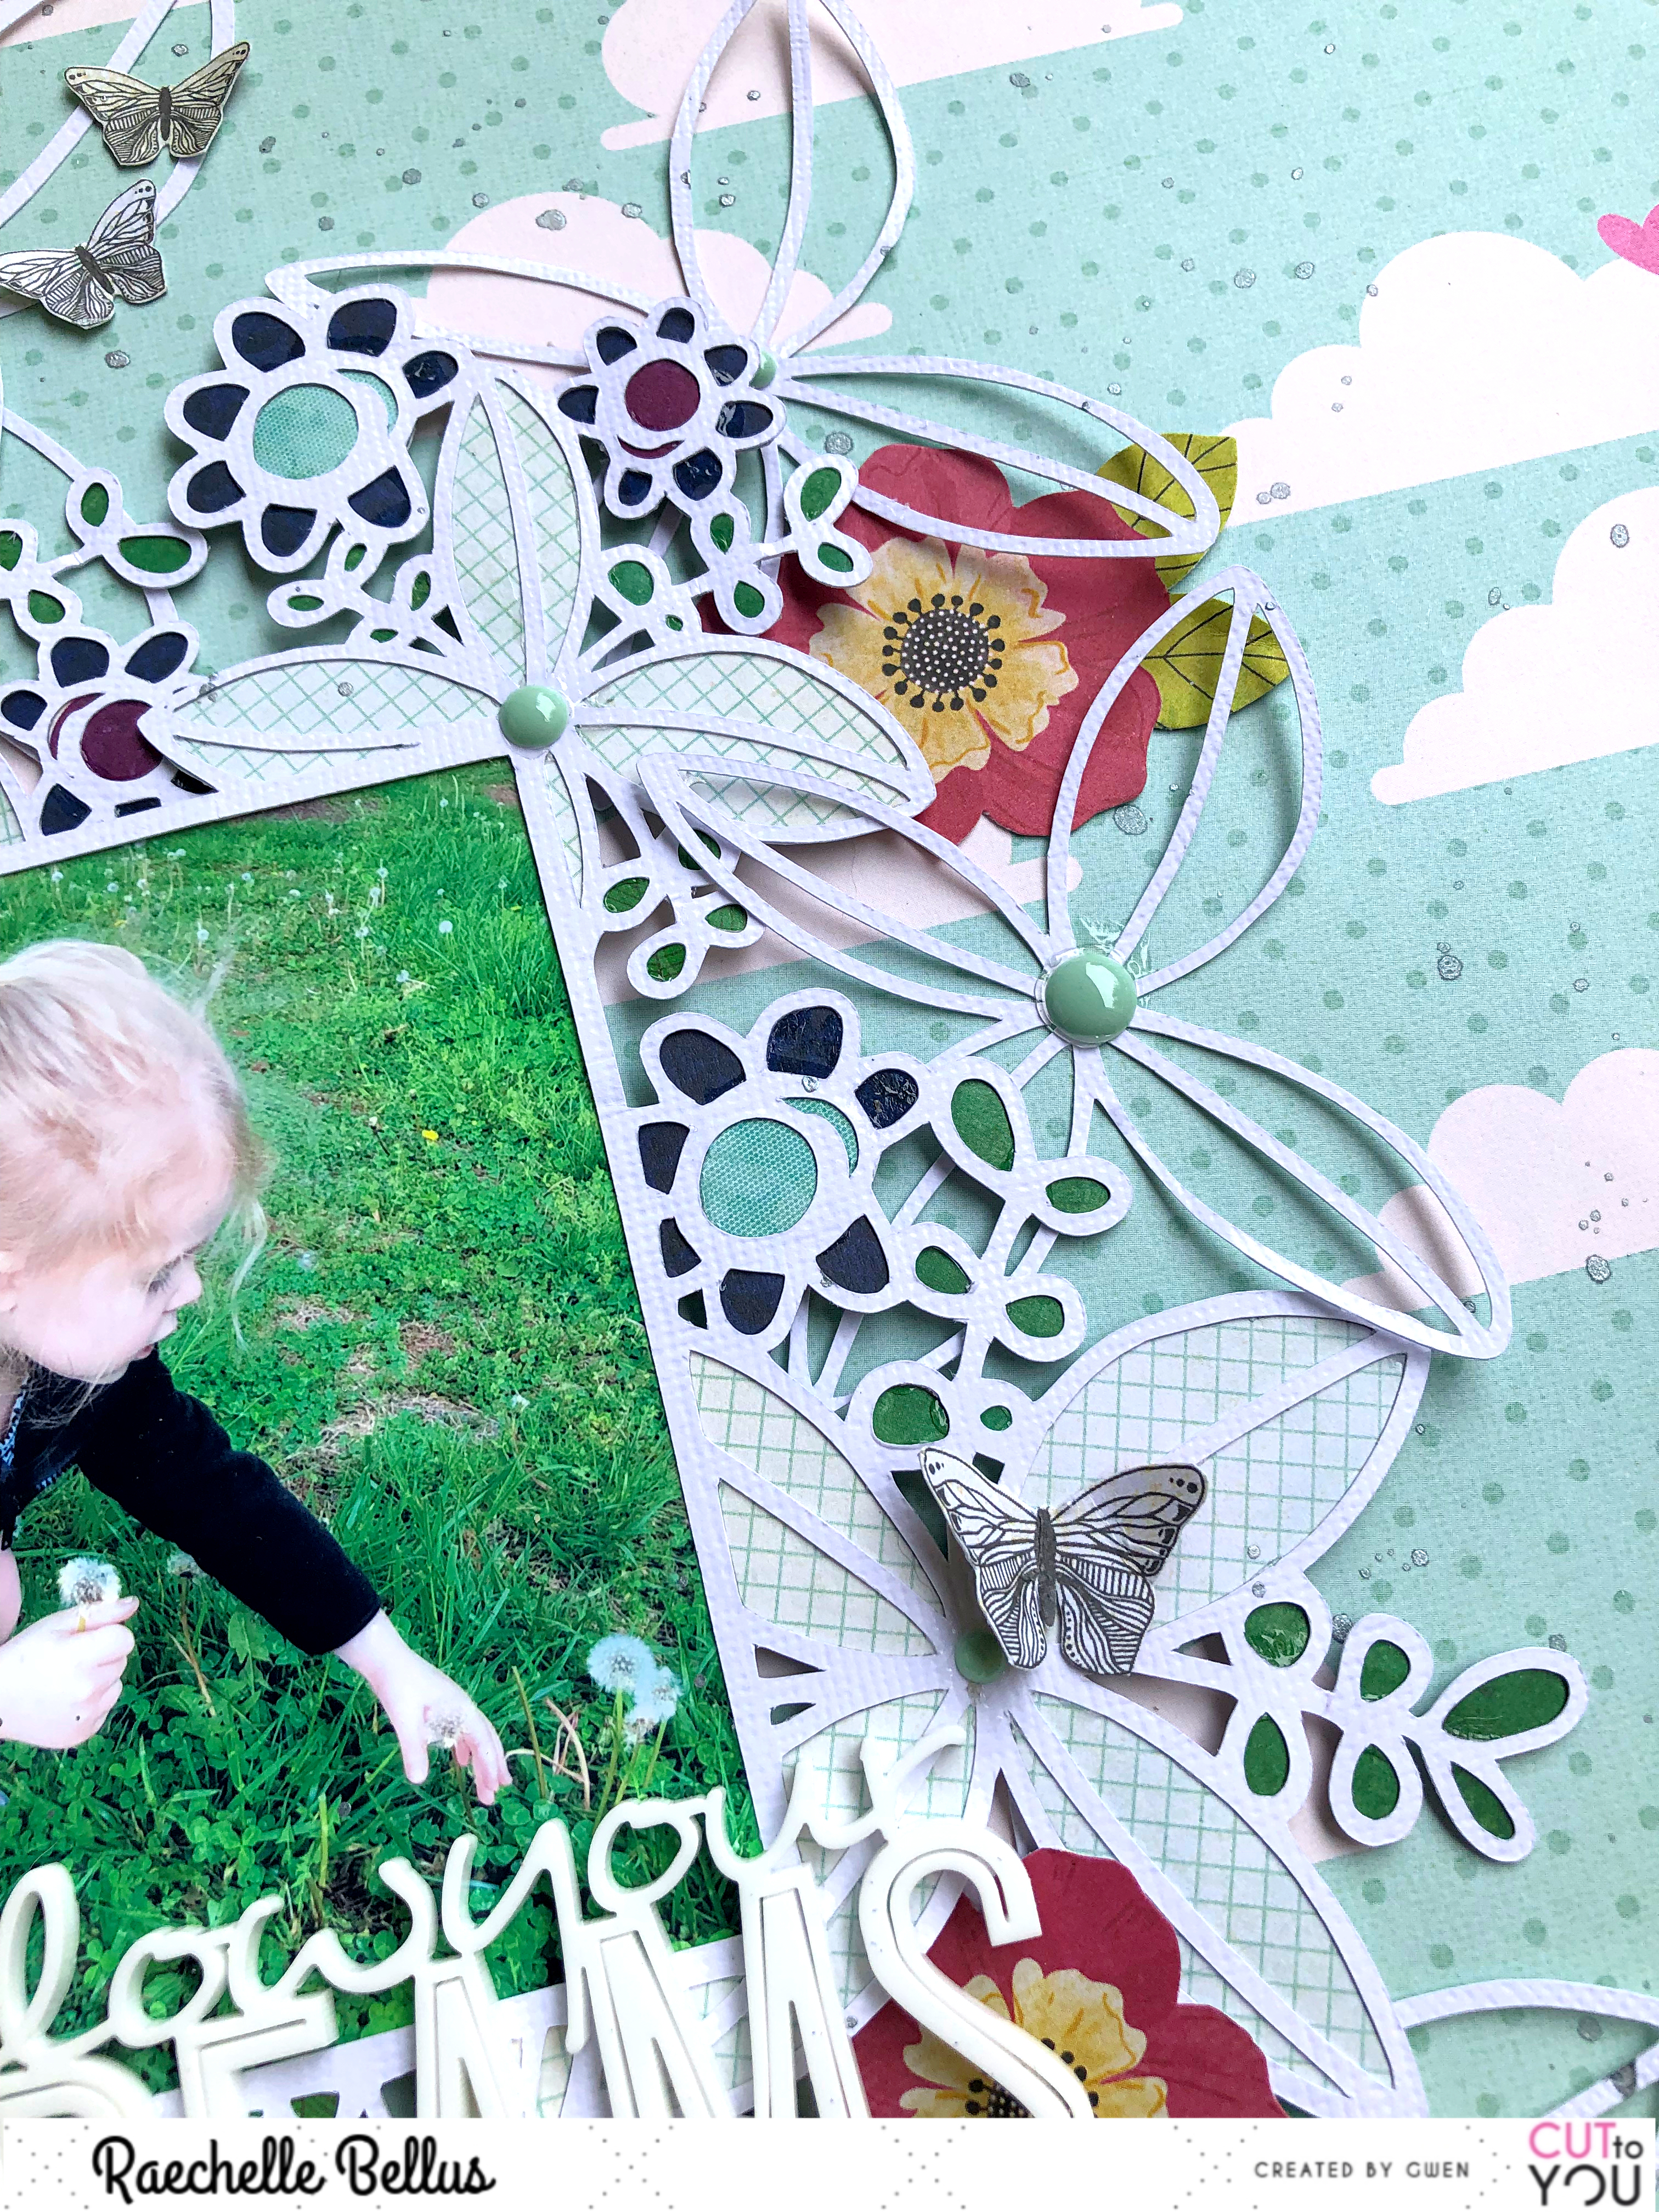
Finishing touches such as fussy cut accents add a pop of color and pulls everything together. 
To get these cut files and see the wide variety of additonal files available, head on over to the CTY store

Wednesday, May 1, 2019

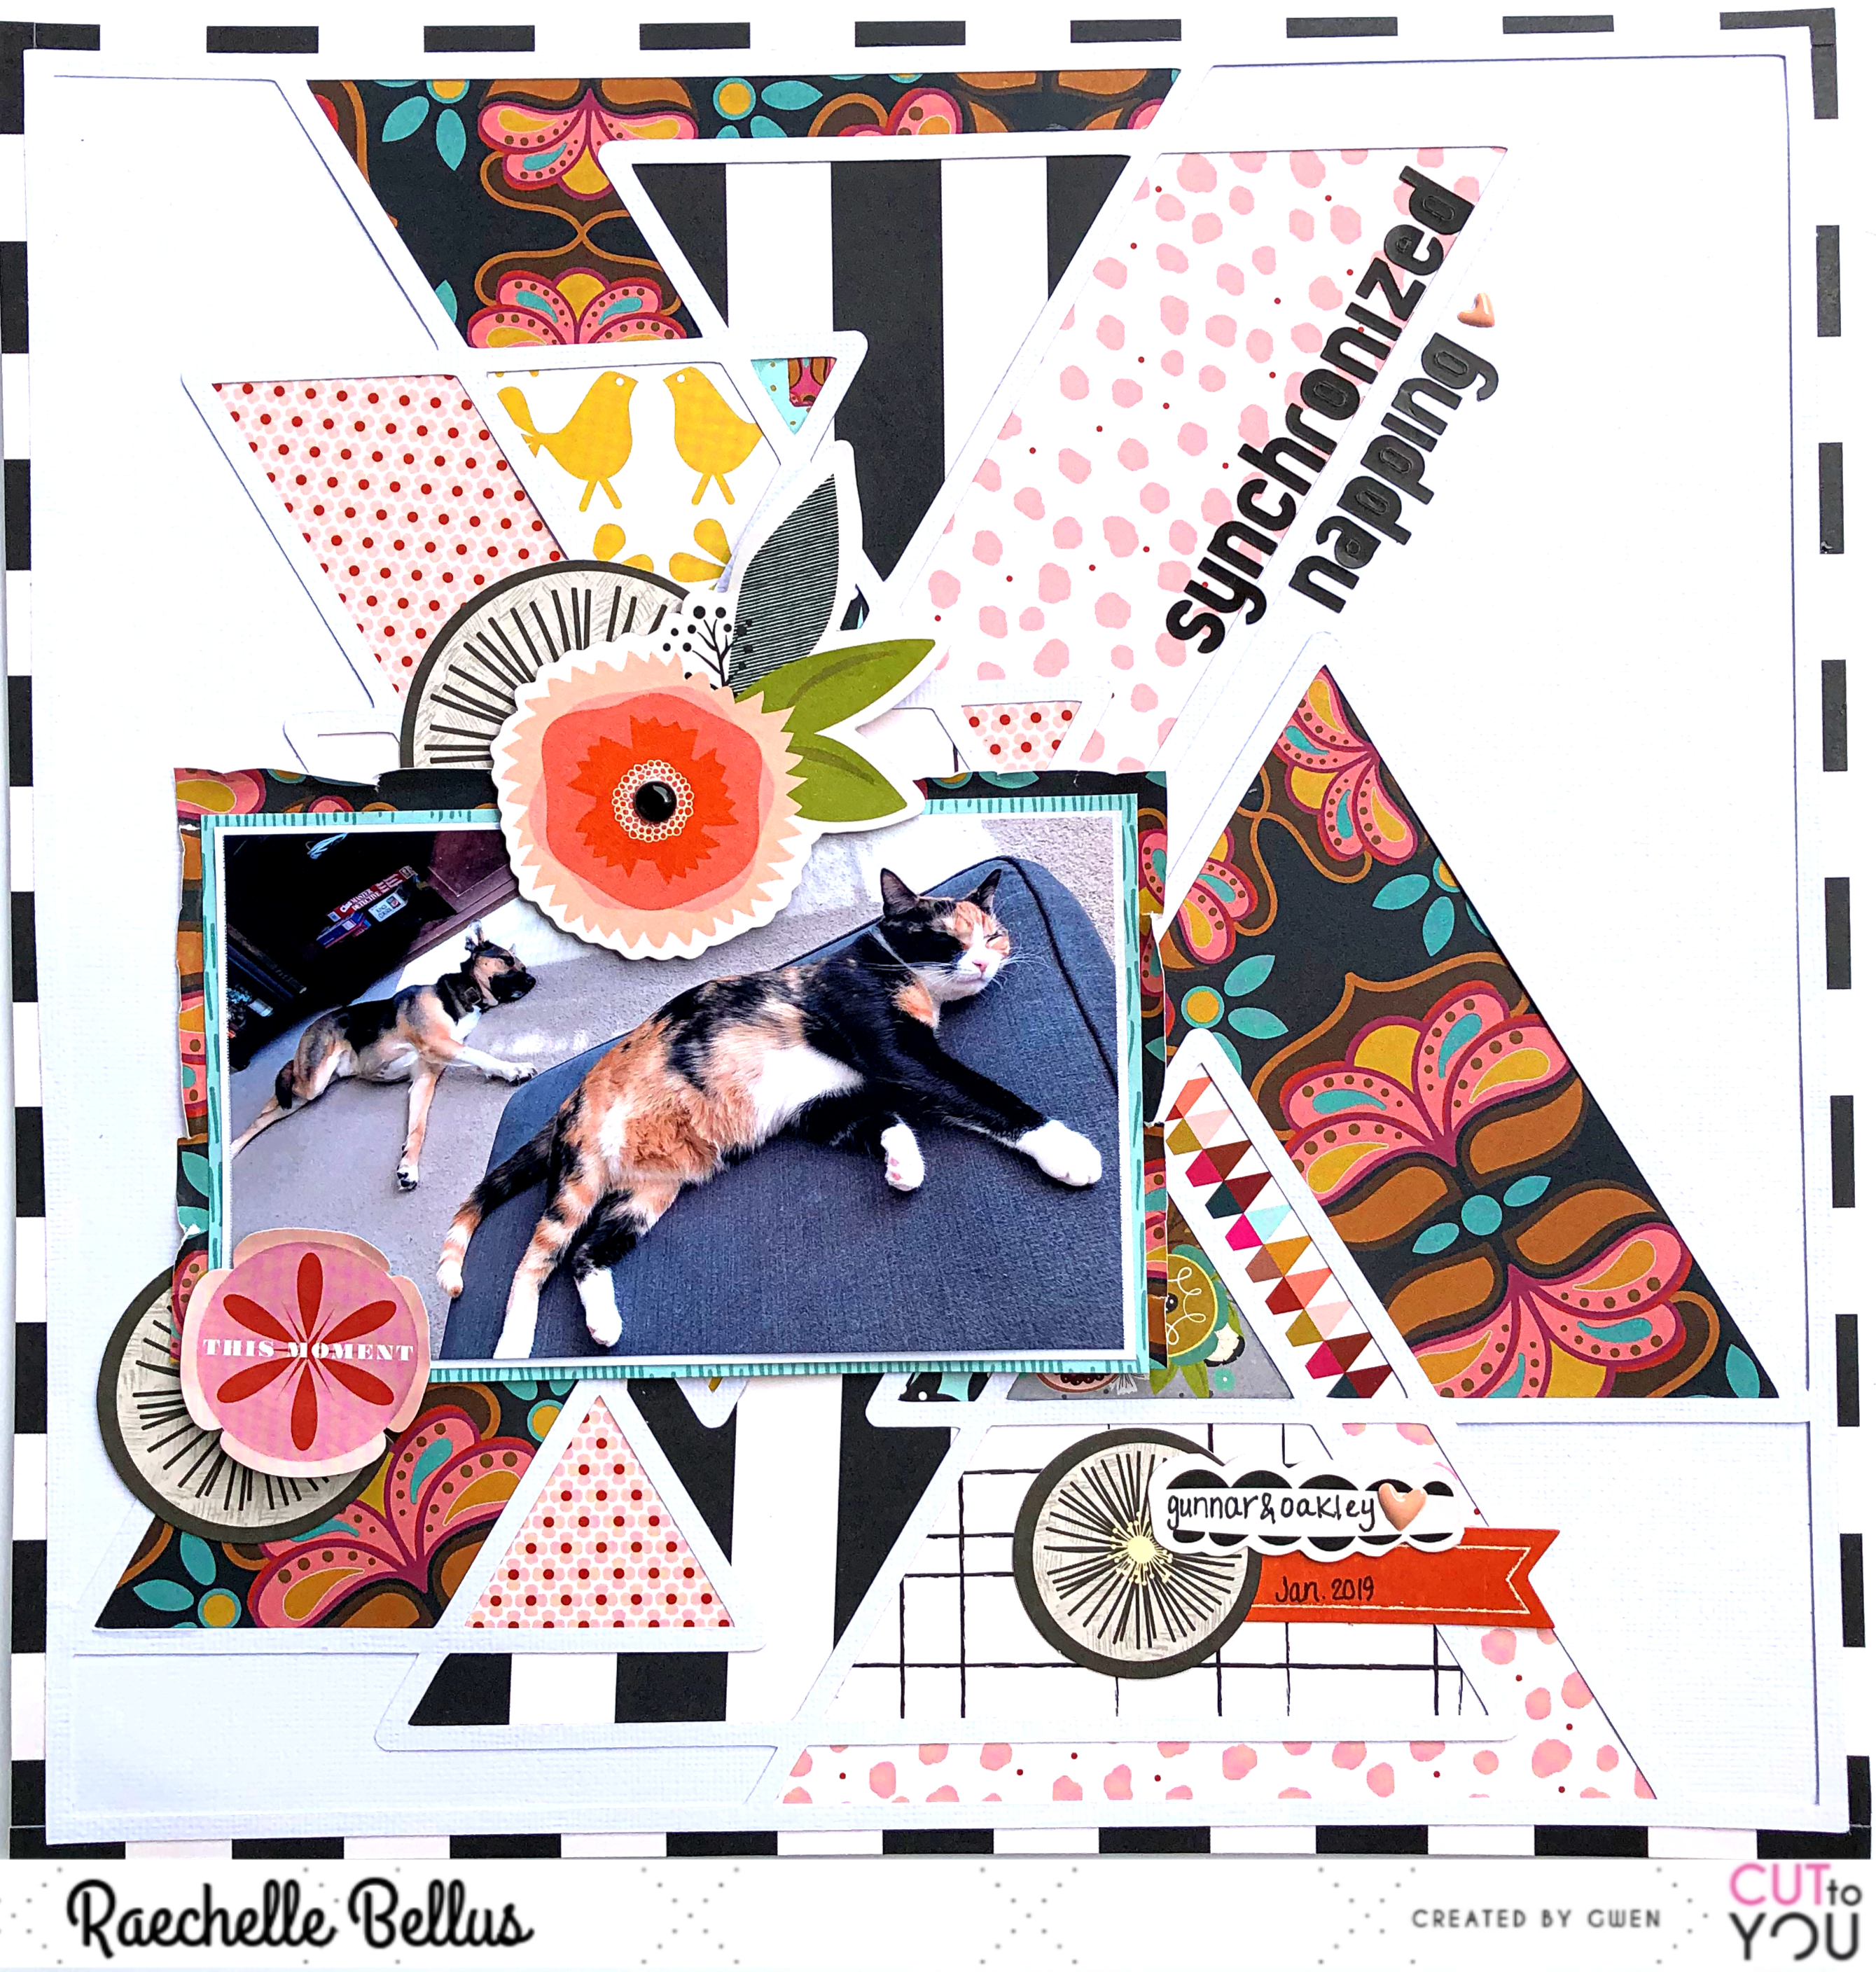
Synchronized Napping {CUT to YOU}

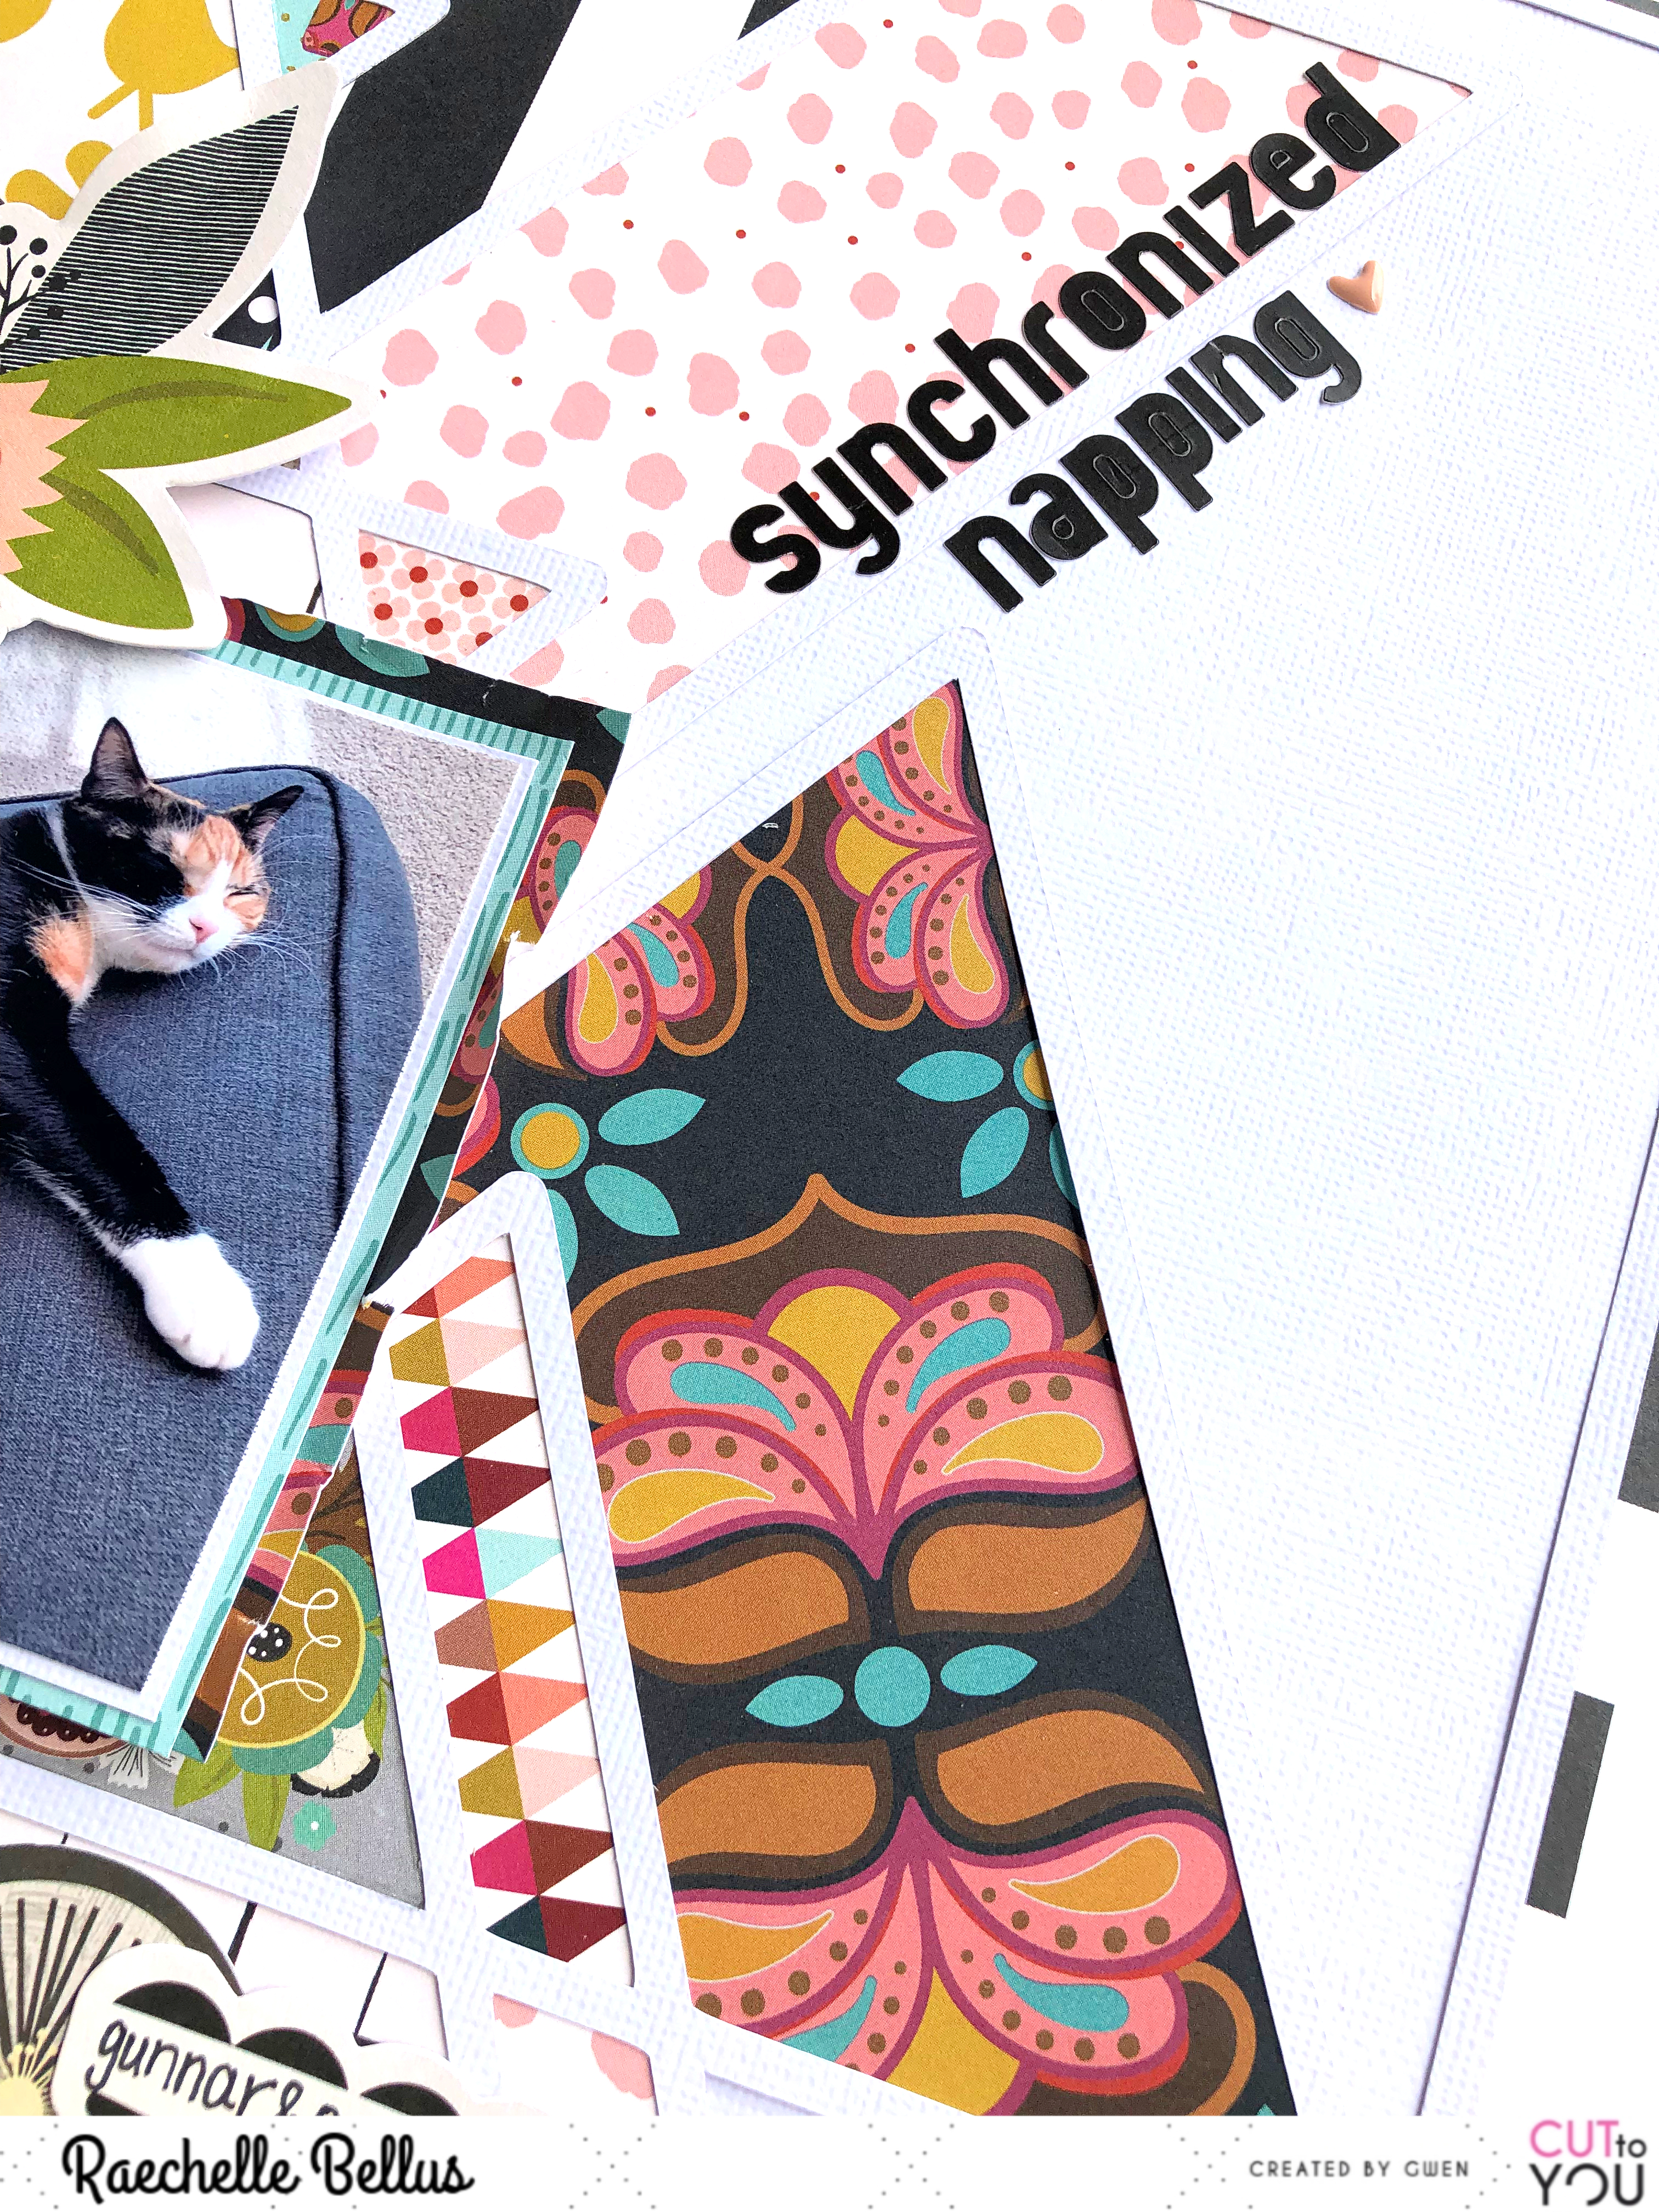
Hello scrappy friends! I generally shy away from geometric designs, no reason, they just don't speak to me as a whole, but when I saw this fabulous Geo Traingles Background cut file I knew I would have to find a way to use it.

savingPNG - Copy (9)

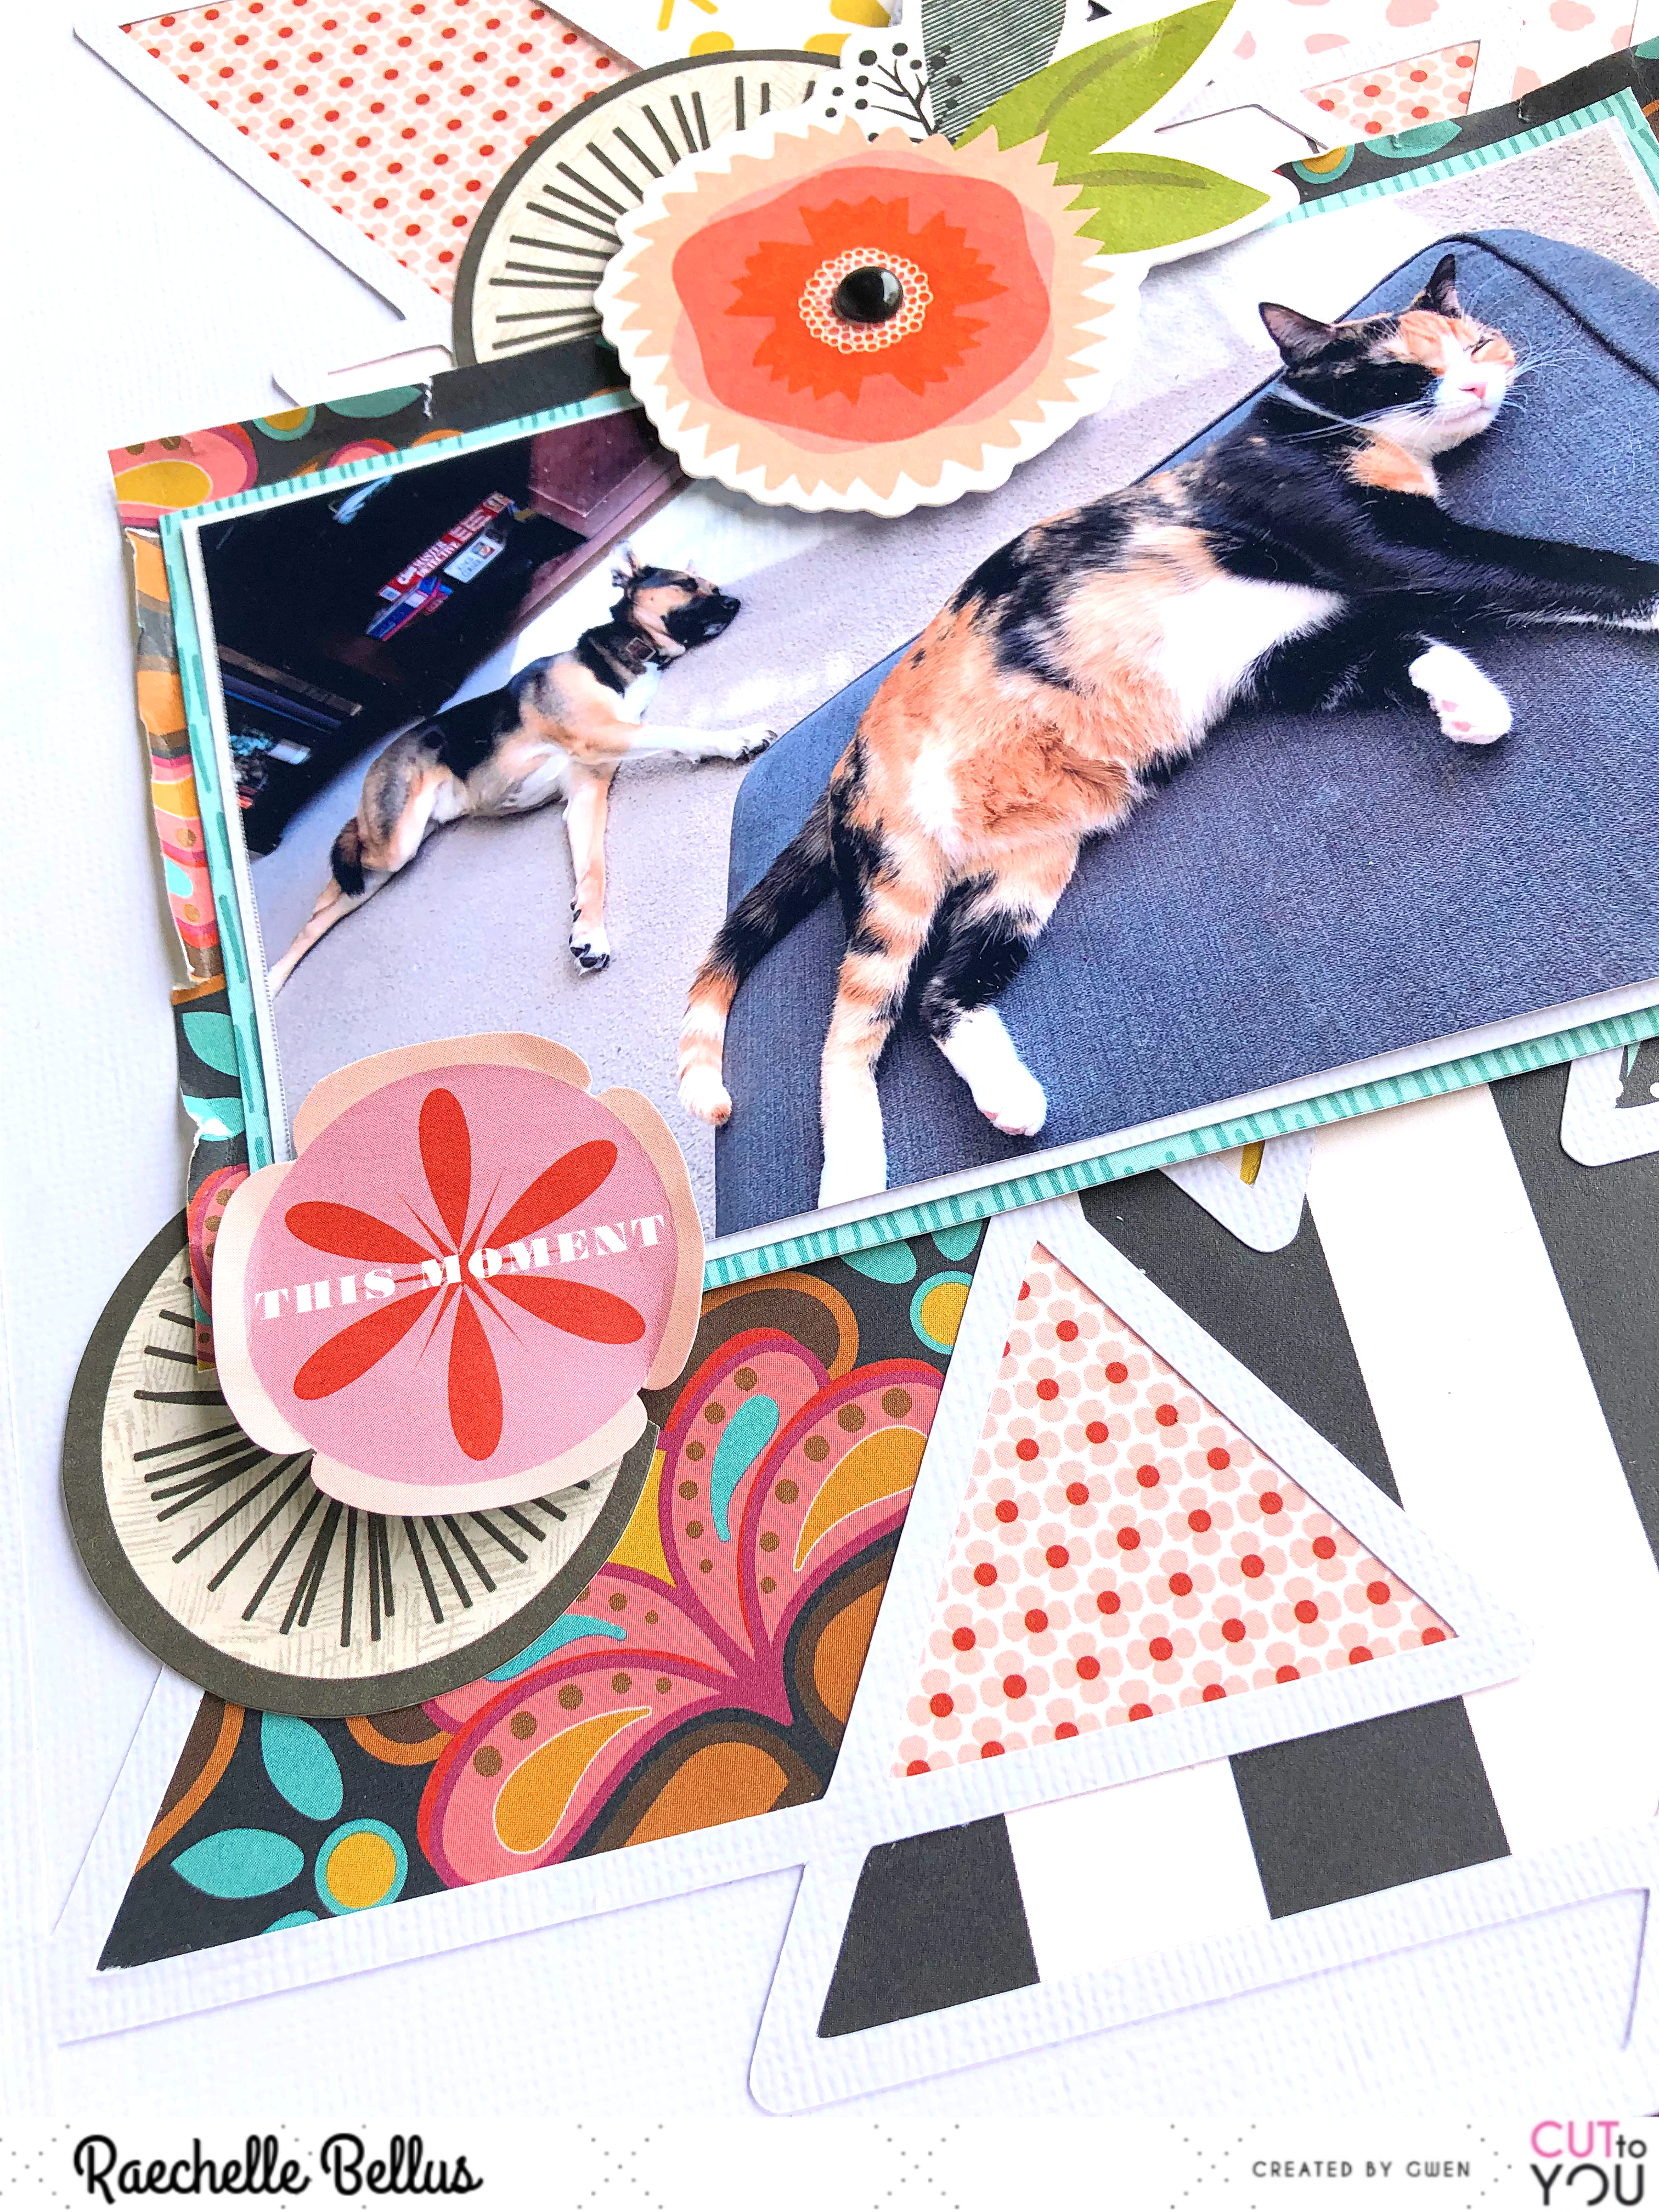
As I was filling in the background, I knew that I wanted it to be bold, yet not distracting from the sweet photo of my pets, so using some large prints as focal points along with mixing smaller prints with lighter colors was key. 
savingPNG - Copy (10)

savingPNG - Copy (12)

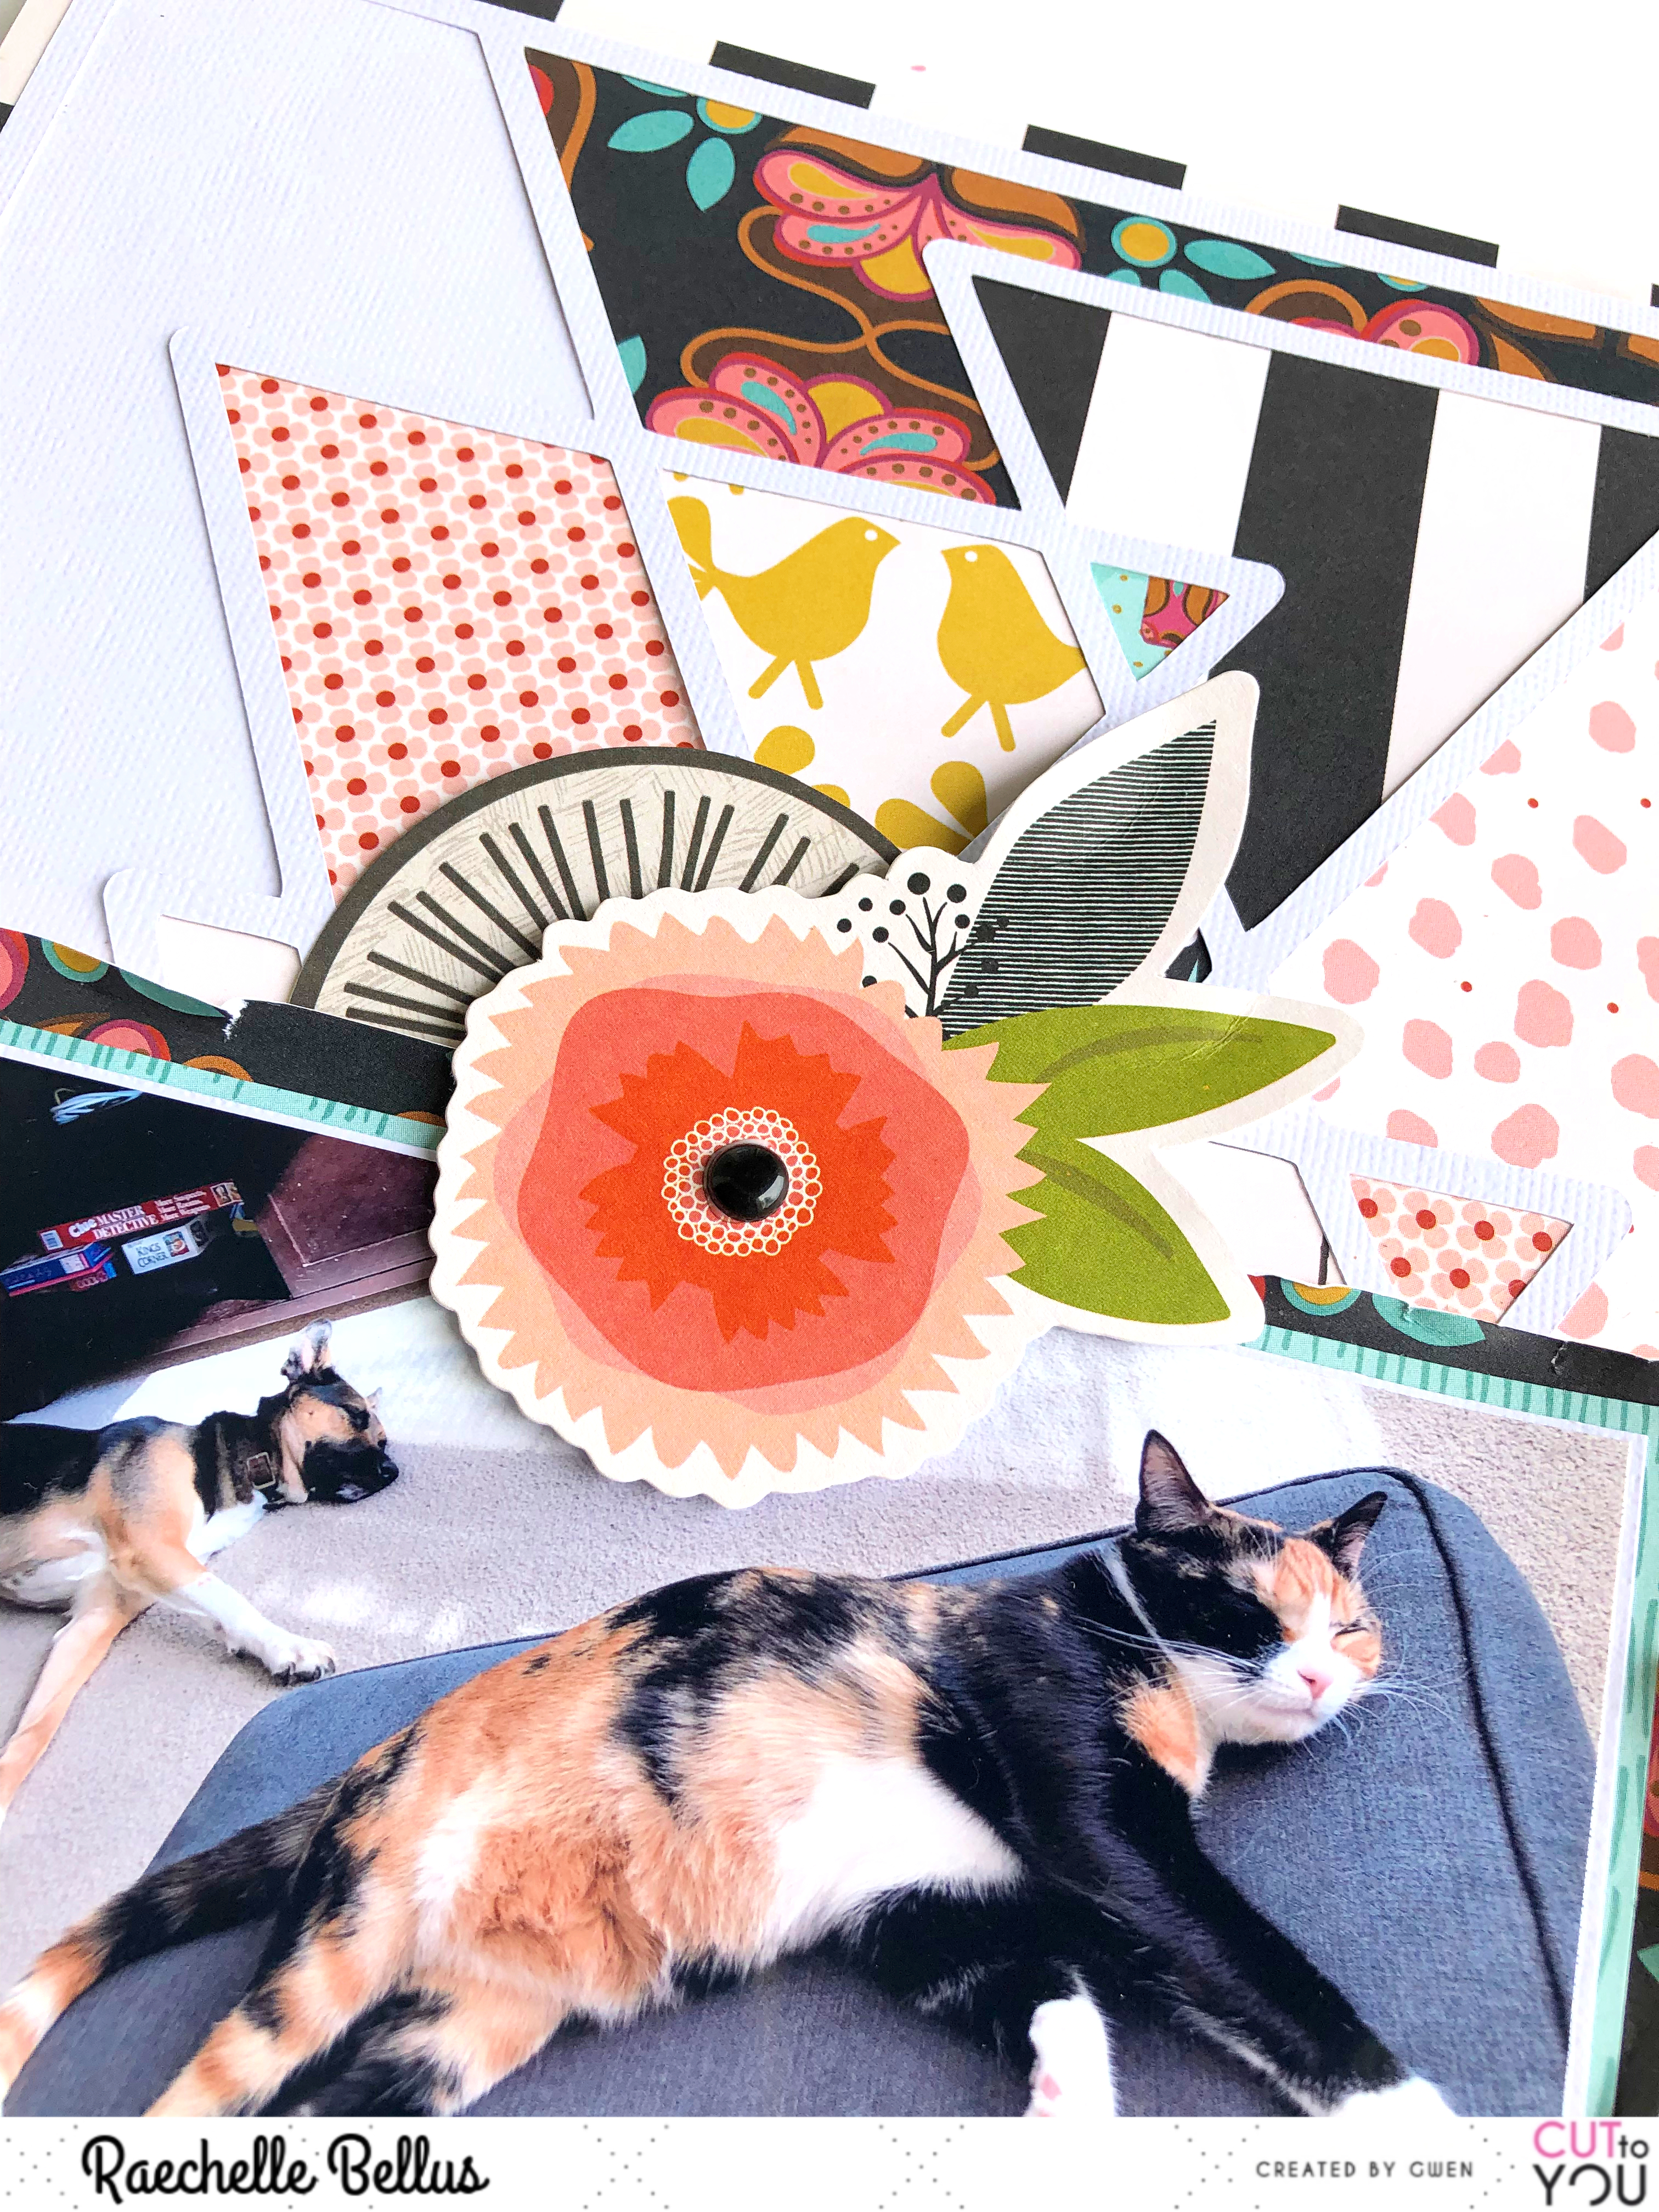
Finishing off with a trio of smple clusters keeps the eye moving and adds some visual interest. 

savingPNG - Copy (11)

I hope that you have been inspired by my layout to create! Head over to the store and start creating!
We love to see what you're making so don’t forget to share on the CUT to YOU HQ on facebook!

Friday, April 26, 2019

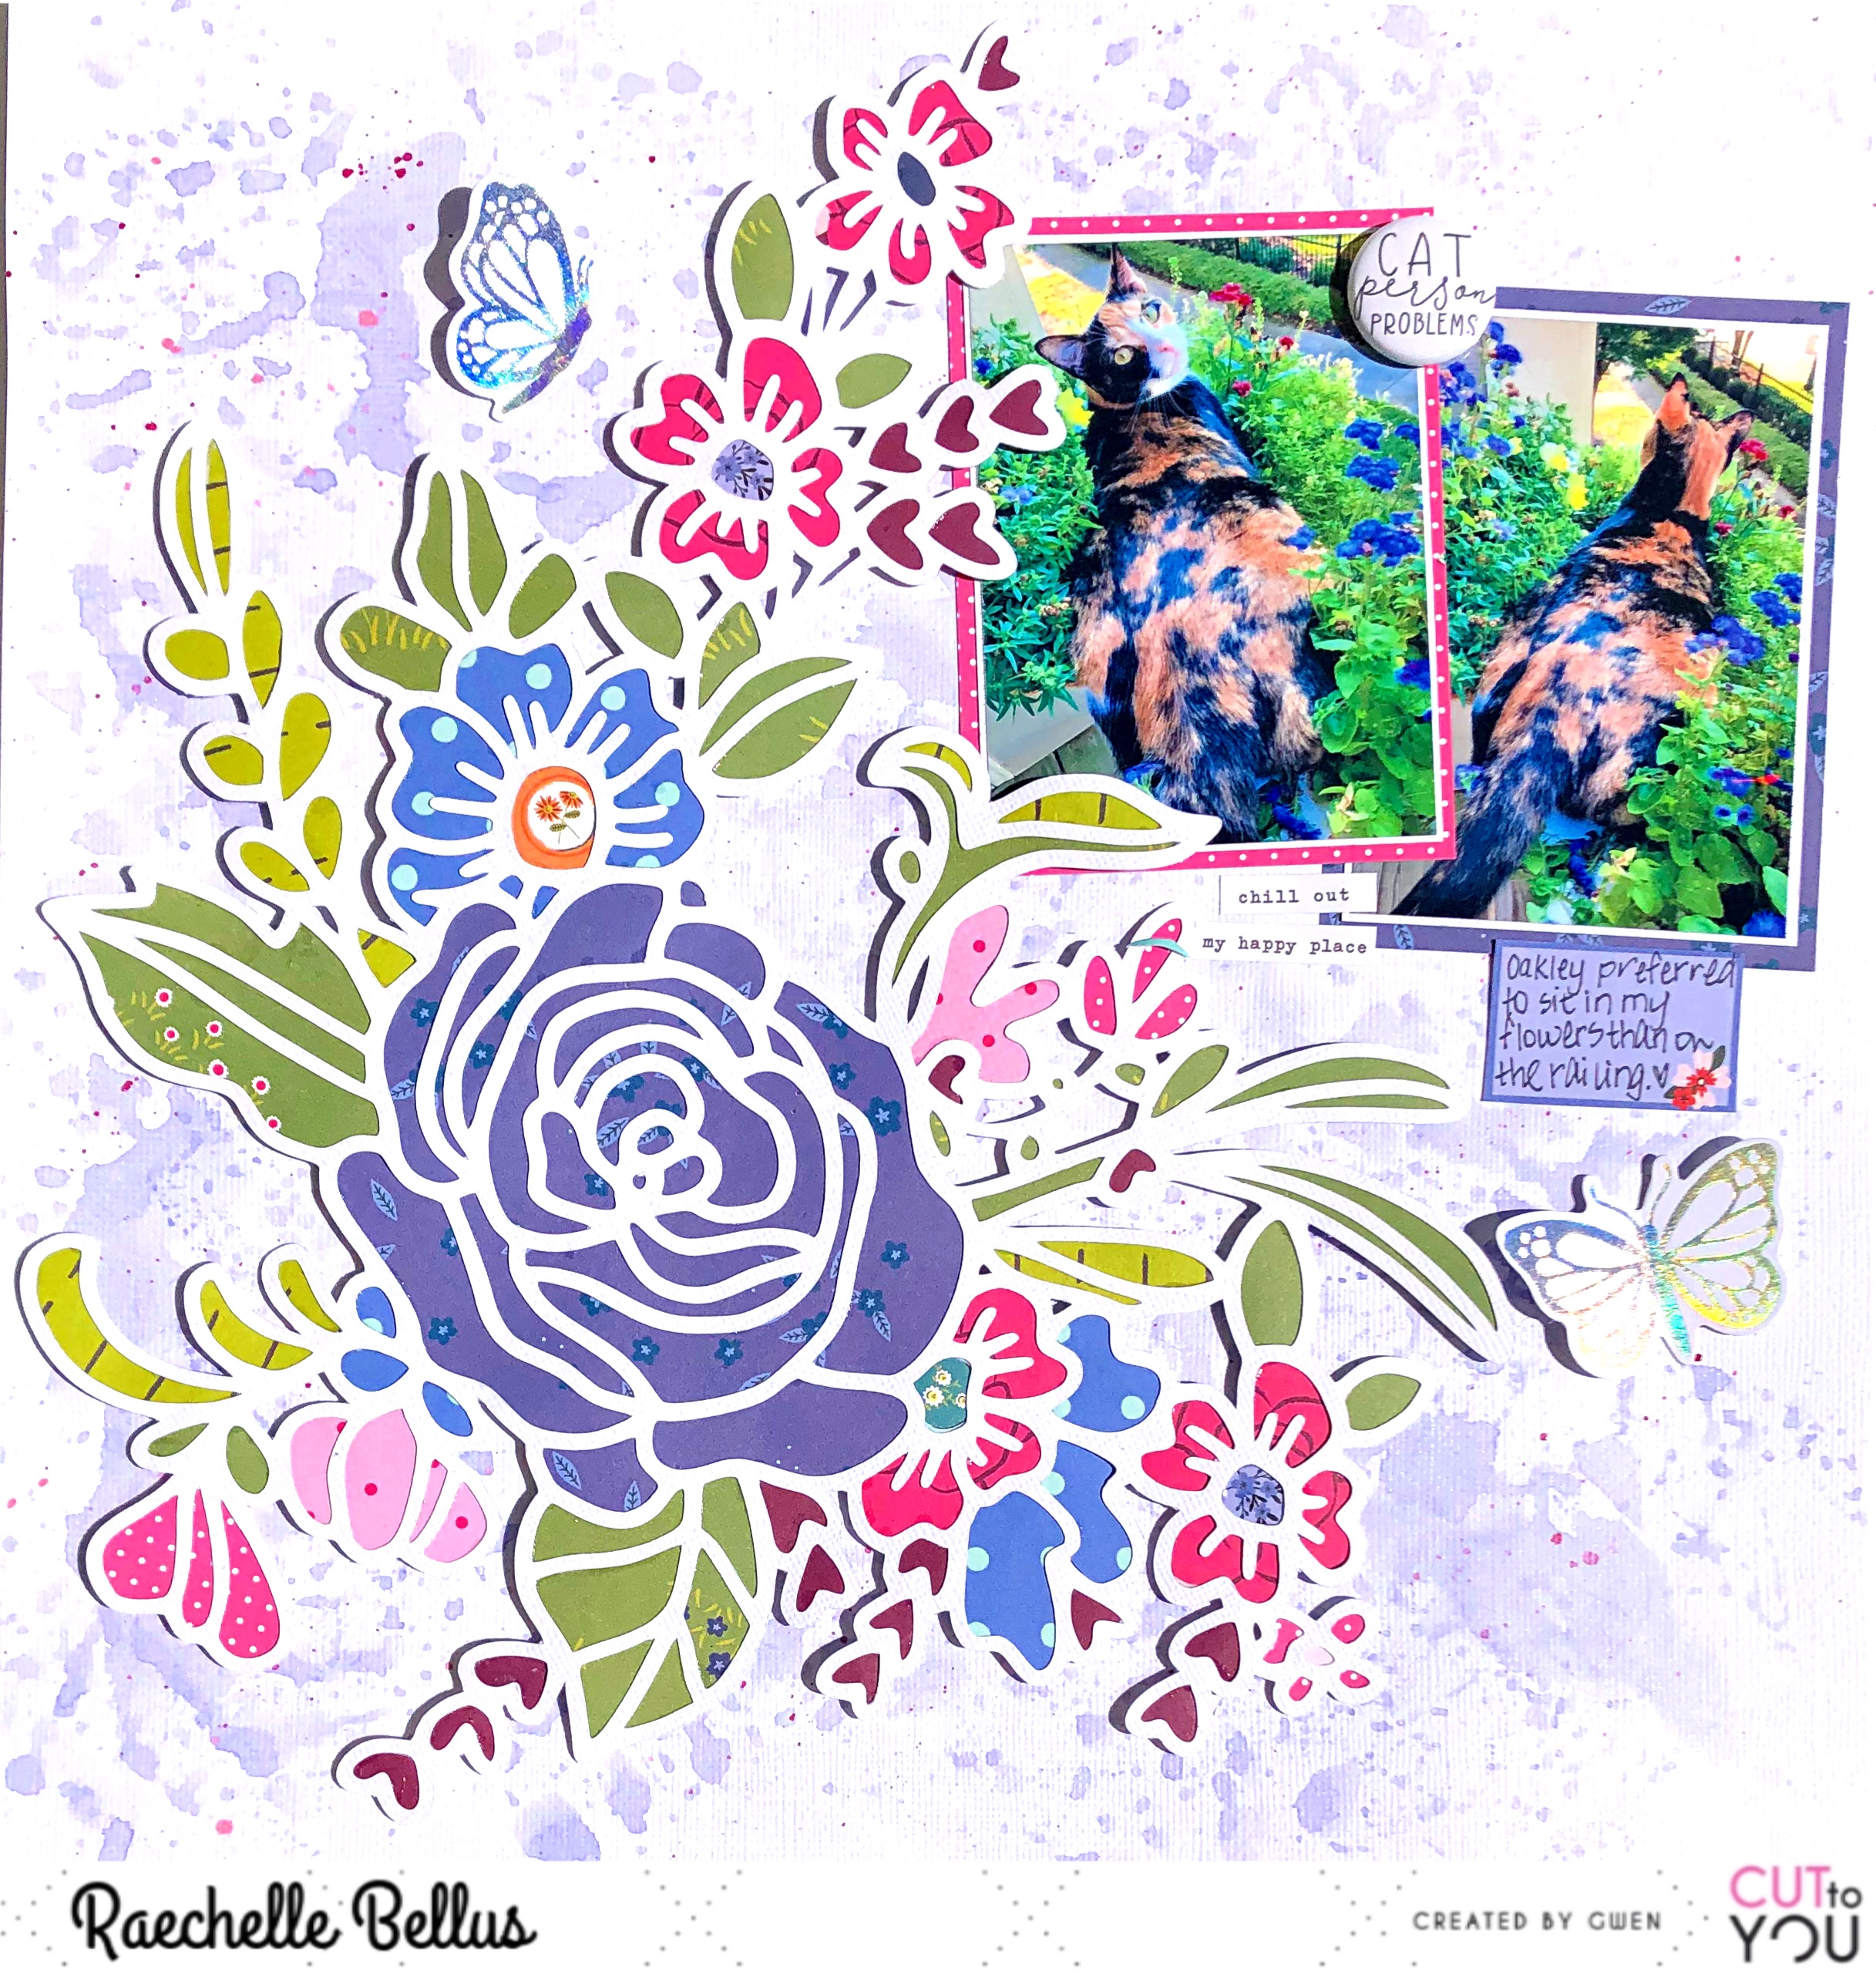
CHillin' in the Flowers {CUT to YOU}

Hello! :) Do flowers make you happy? They do me! And our cat. ;)
We live on the second floor in an apartment and fortunately we have a nice little deck area where I am able to creatively surrond myself with plenty of pretty flowers. To maximize our space I used some baskets that hang over the railing of our deck. And since our cat likes to sit on the railing, it was only a matter of time before she would also "have to" sit in the flower baksets. If you are a cat owner, then you know how this goes... you try and try to stop them, but in the end you are facing a losing battle, and well... there comes a time when you just give in. It's tiresome to fight a battle with a queen. lol 

Attachment-1

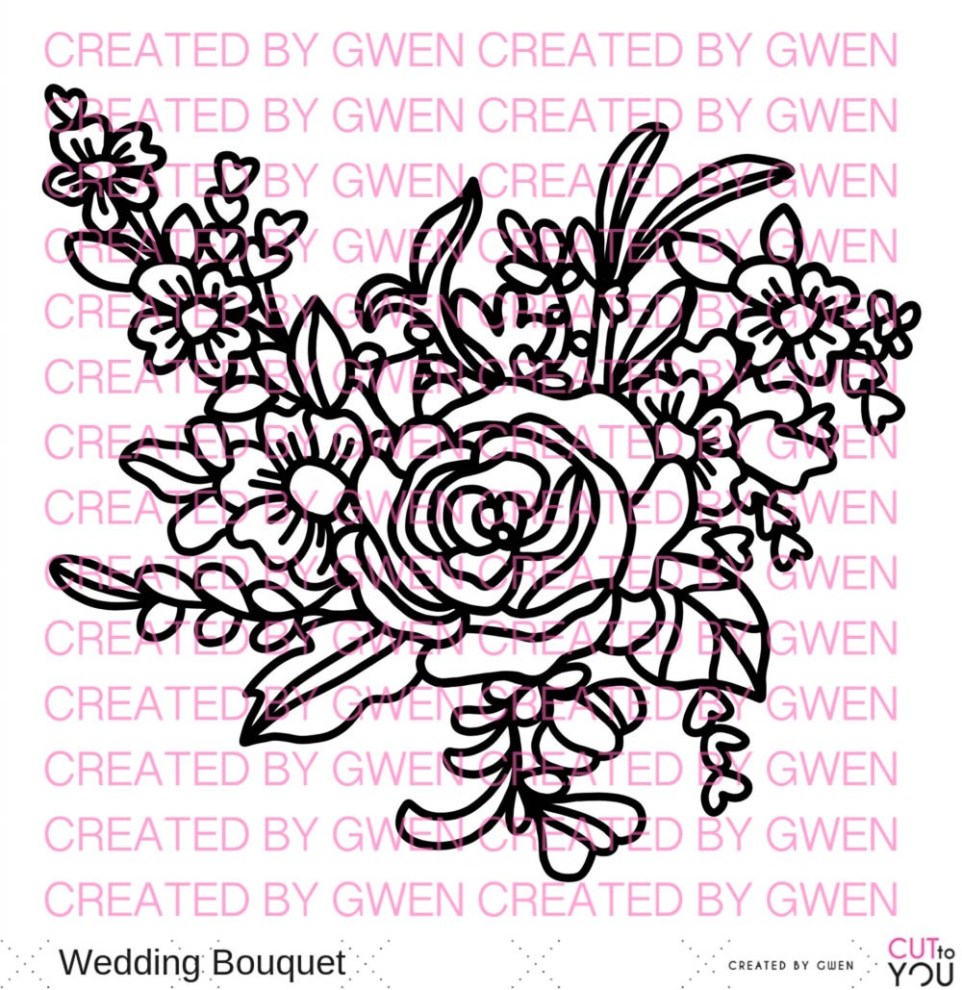
XWeddingBouquet

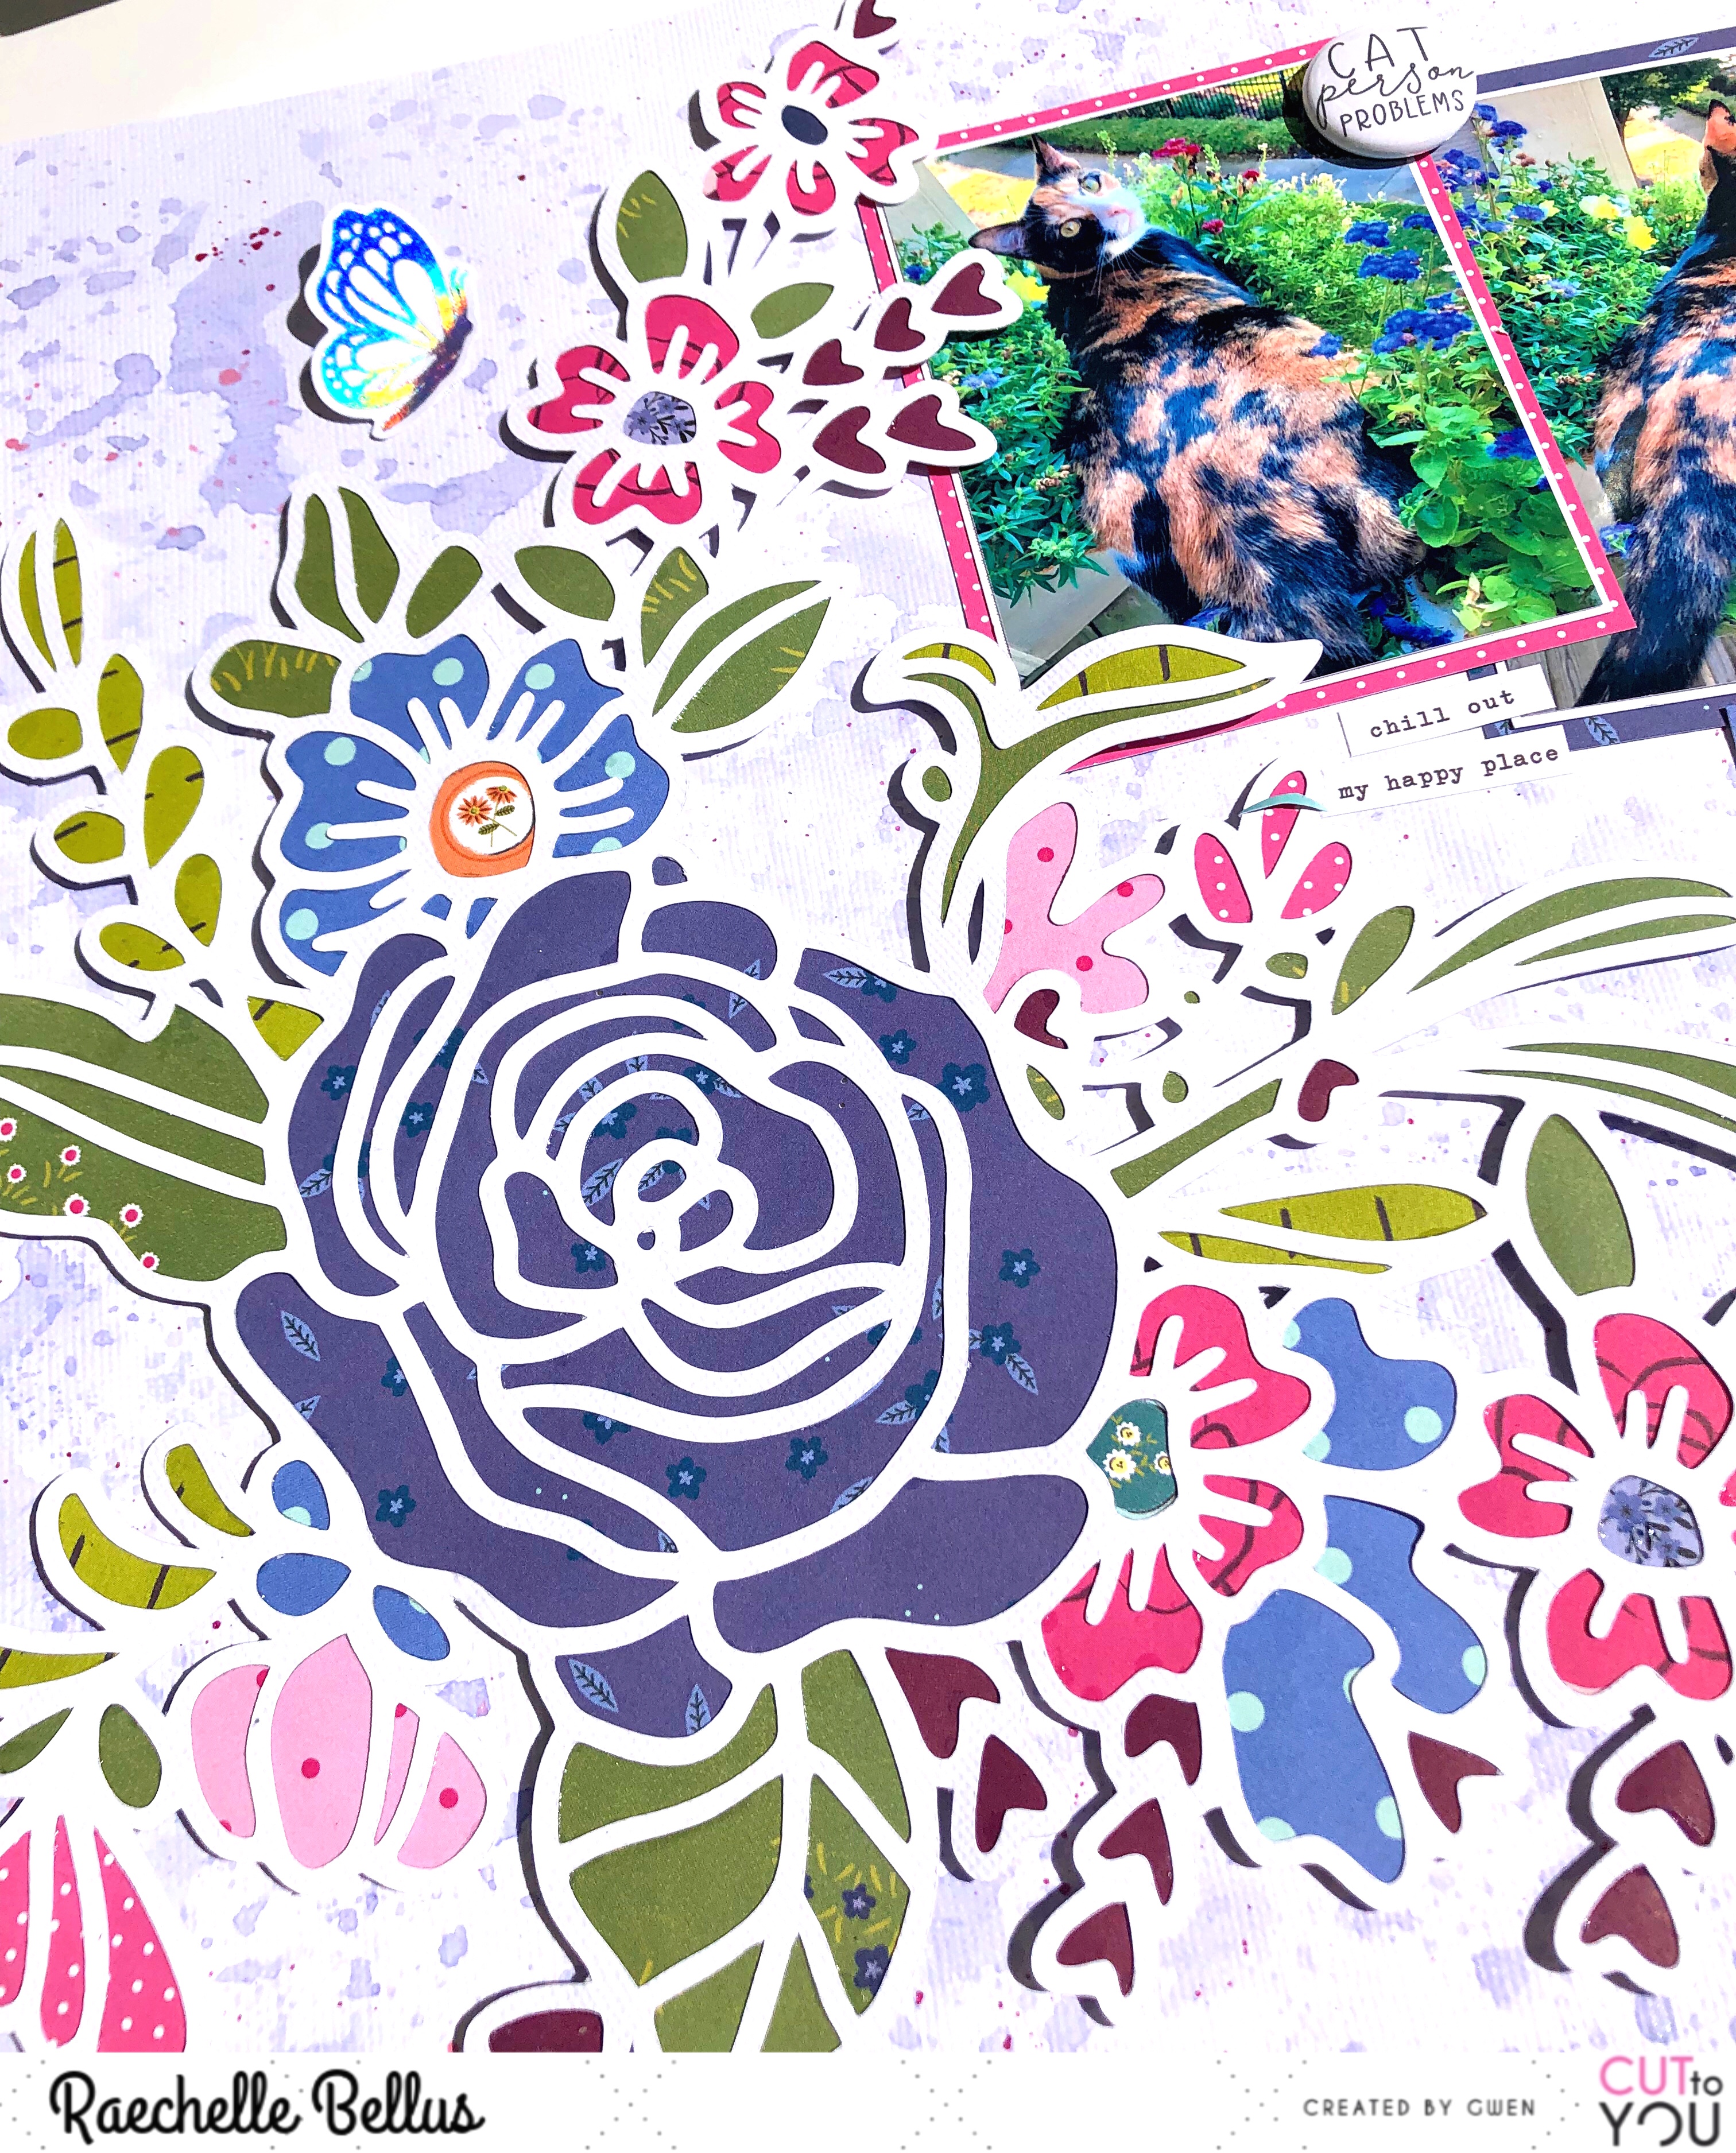
After cutting the oh-so-perfect Wedding Boquet cut file I set it on the base of my layout and lightly traced around a few areas to capture the general shape. I then created a mixed media background using the packaging technique and finishing off with a few splats of a contrast color.

Attachment-1 - Copy (2)

It took a bit of time to back this file with seveal coordinating colors and mixed prints, but the effort was well worth it.

Attachment-1 - Copy

At the end of the day, my flowers weren't too much worse for the wear and our cat also got to enjoy them, so I suppose it's a win-win. At least for her.
I hope that you have been inspired by my layout to create! Head over to the store and start creating!
We love to see what you're making so don’t forget to share on the CUT to YOU HQ on facebook!

Thursday, April 11, 2019

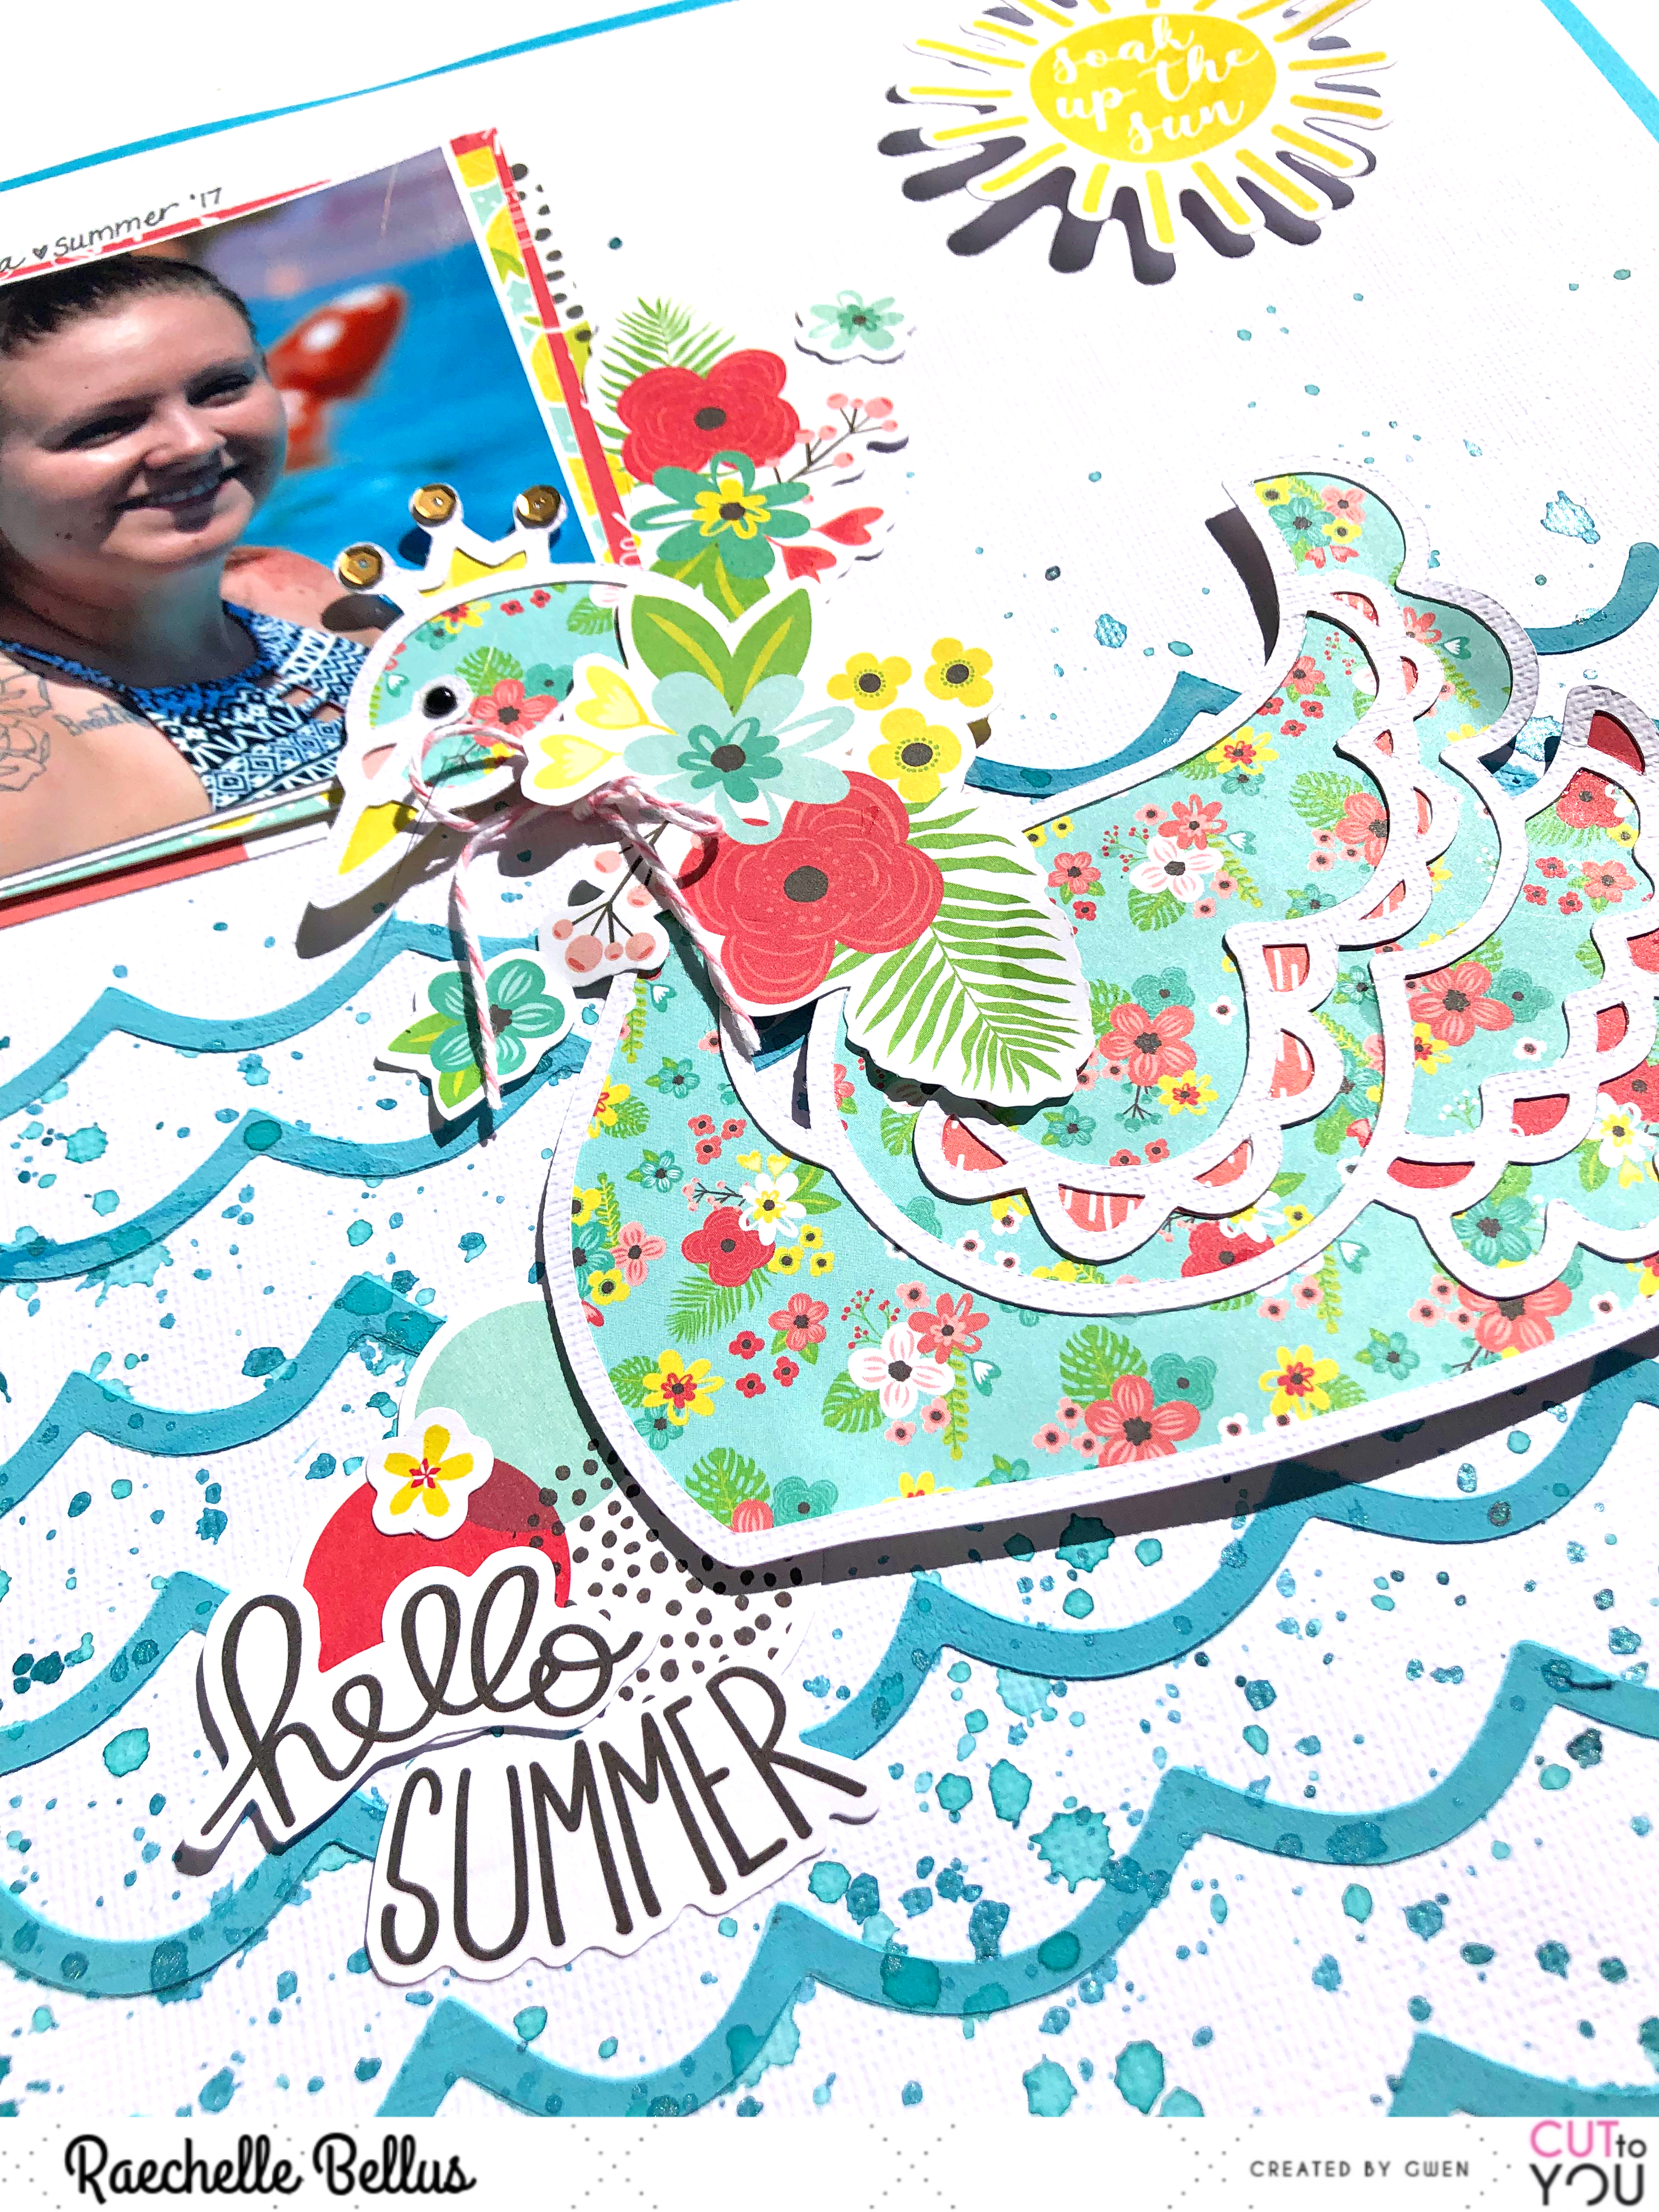
Hello Summer

Hello! Today I'm sharing a fun mixed media page. Melinda Sweetman and Tamara Buckler  each created and shared some fabulous mixed-media layouts in the past couple of weeks on the CUT to YOU blog, and today I am sharing mine.

savingPNG - Copy (8)

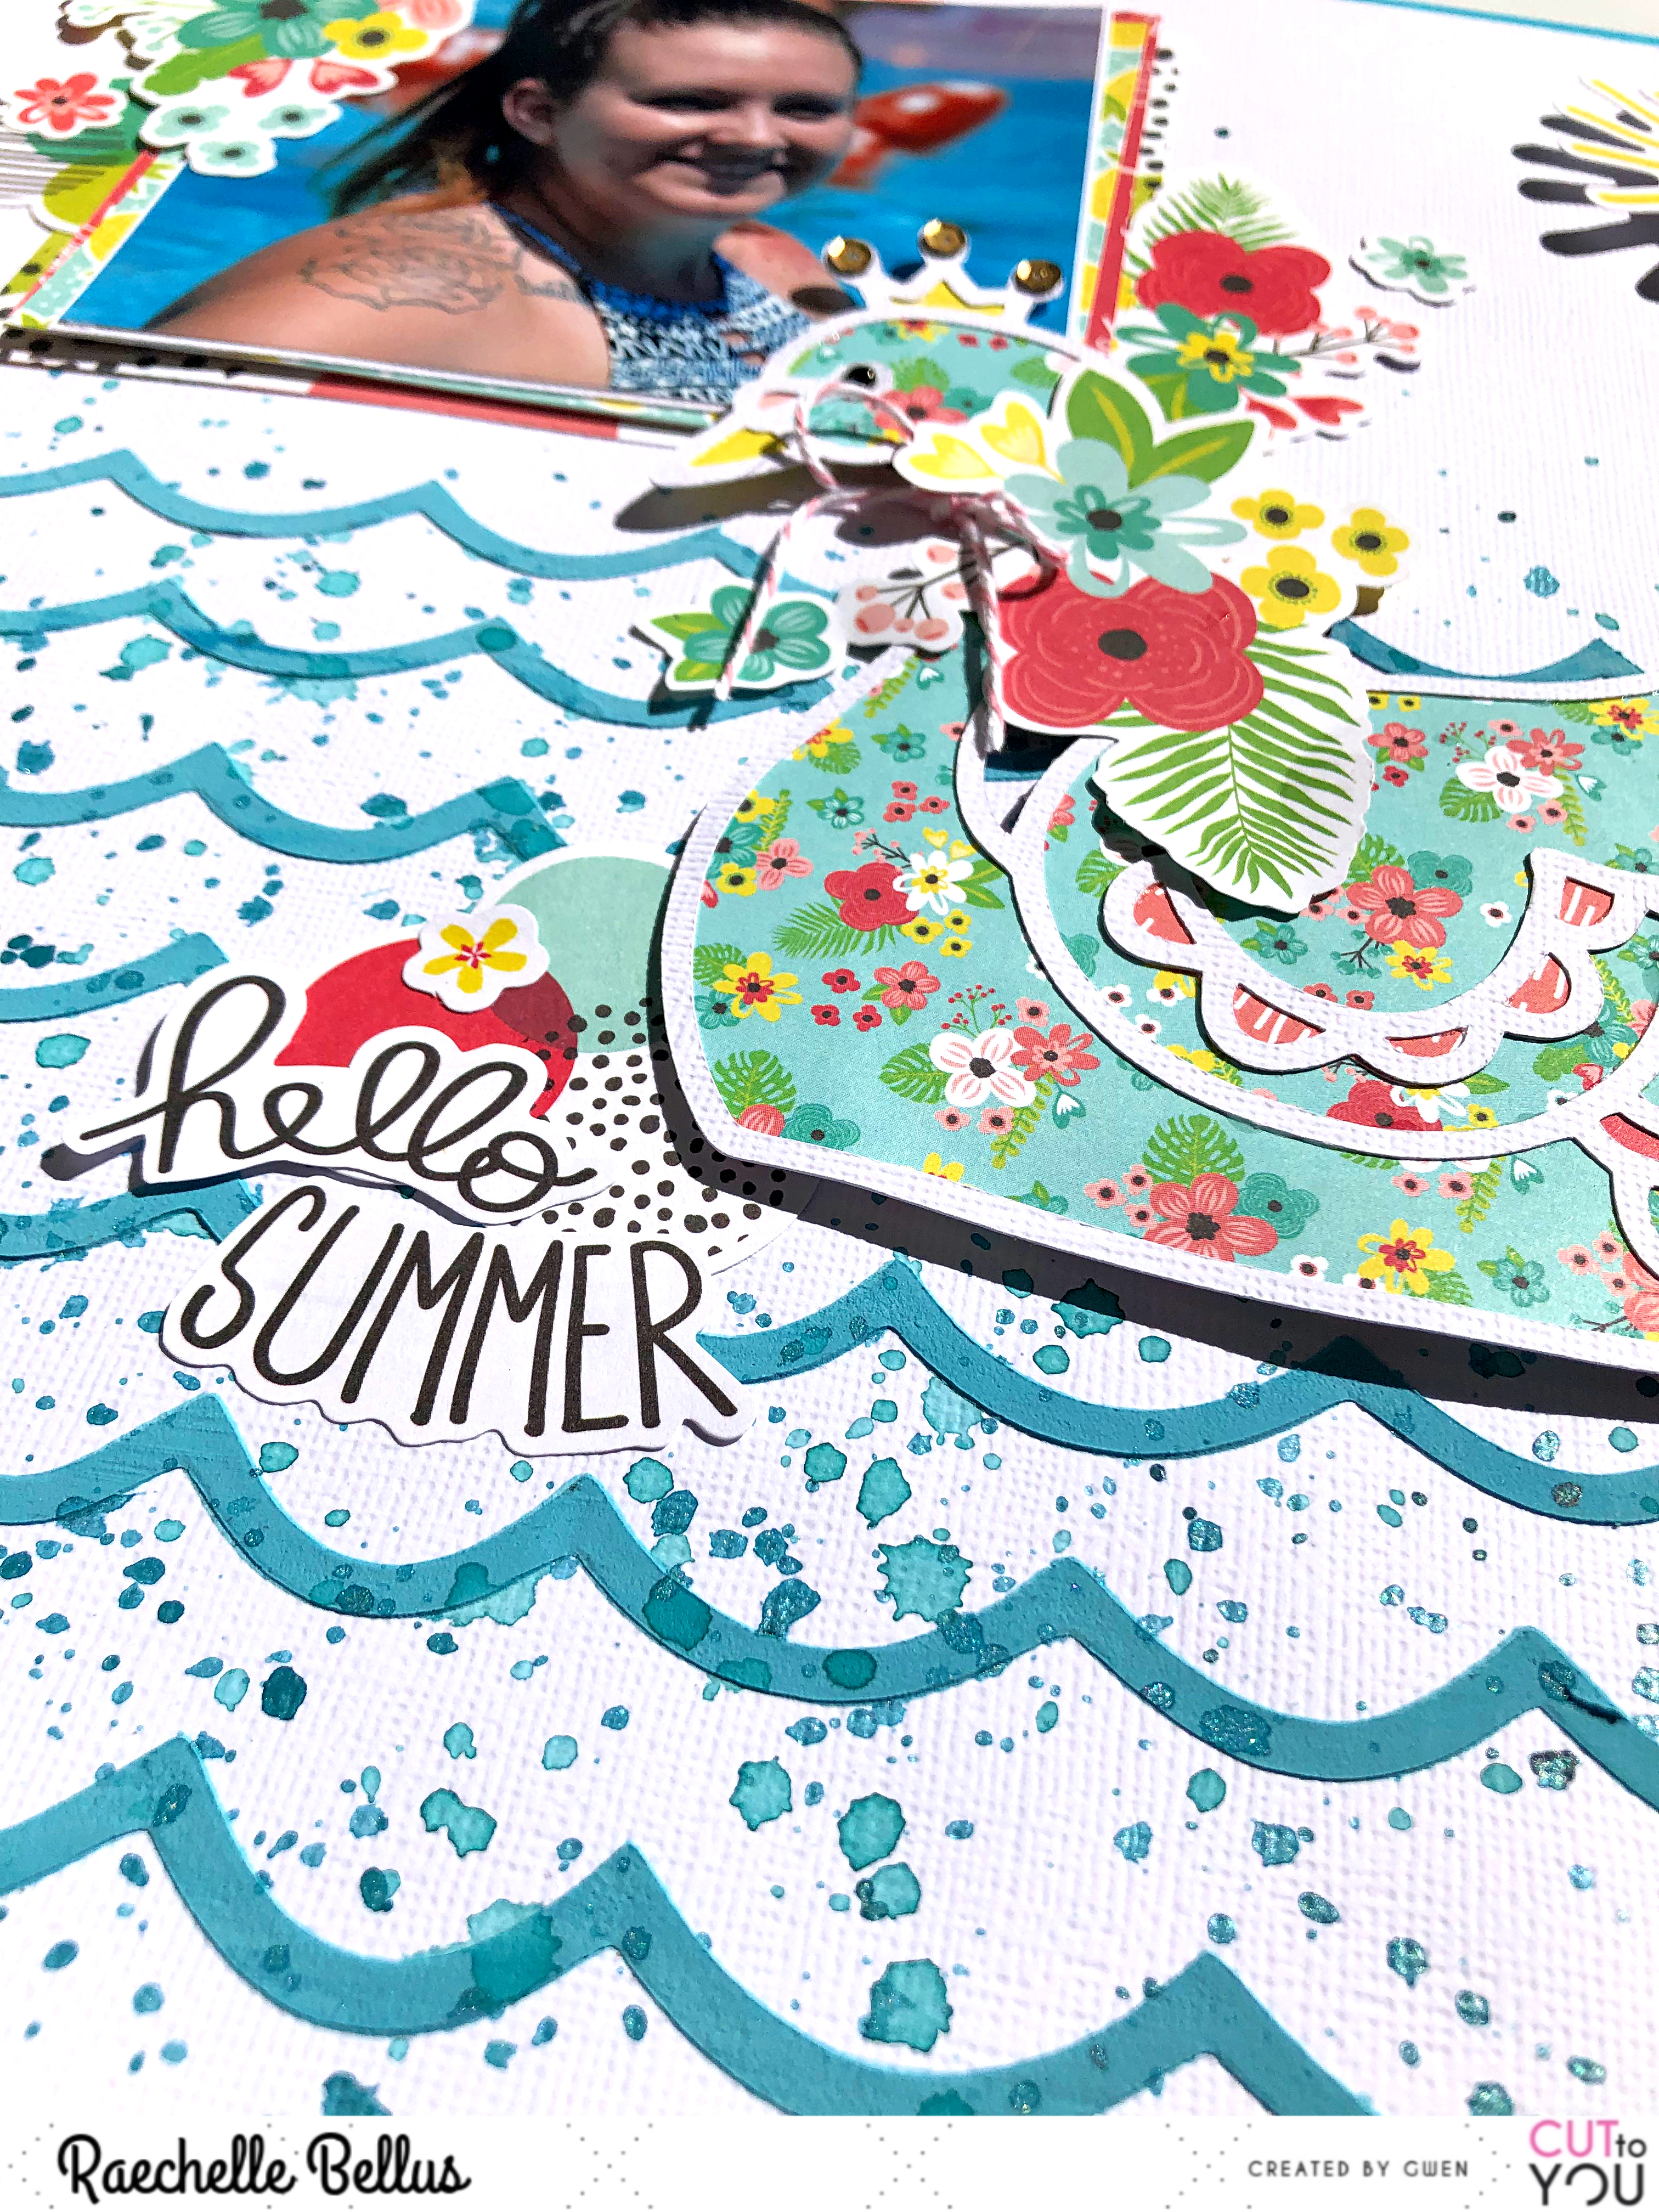
I have used the super cute 'What's Going Swan?' cut file to create my layout. I began by adapting the waves in my Studio Software to create a base template by stacking several layers of longated waves, which were also skewed a bit to add some movement and visual interest. This became the base of my stencil. I also created the swan to use. 
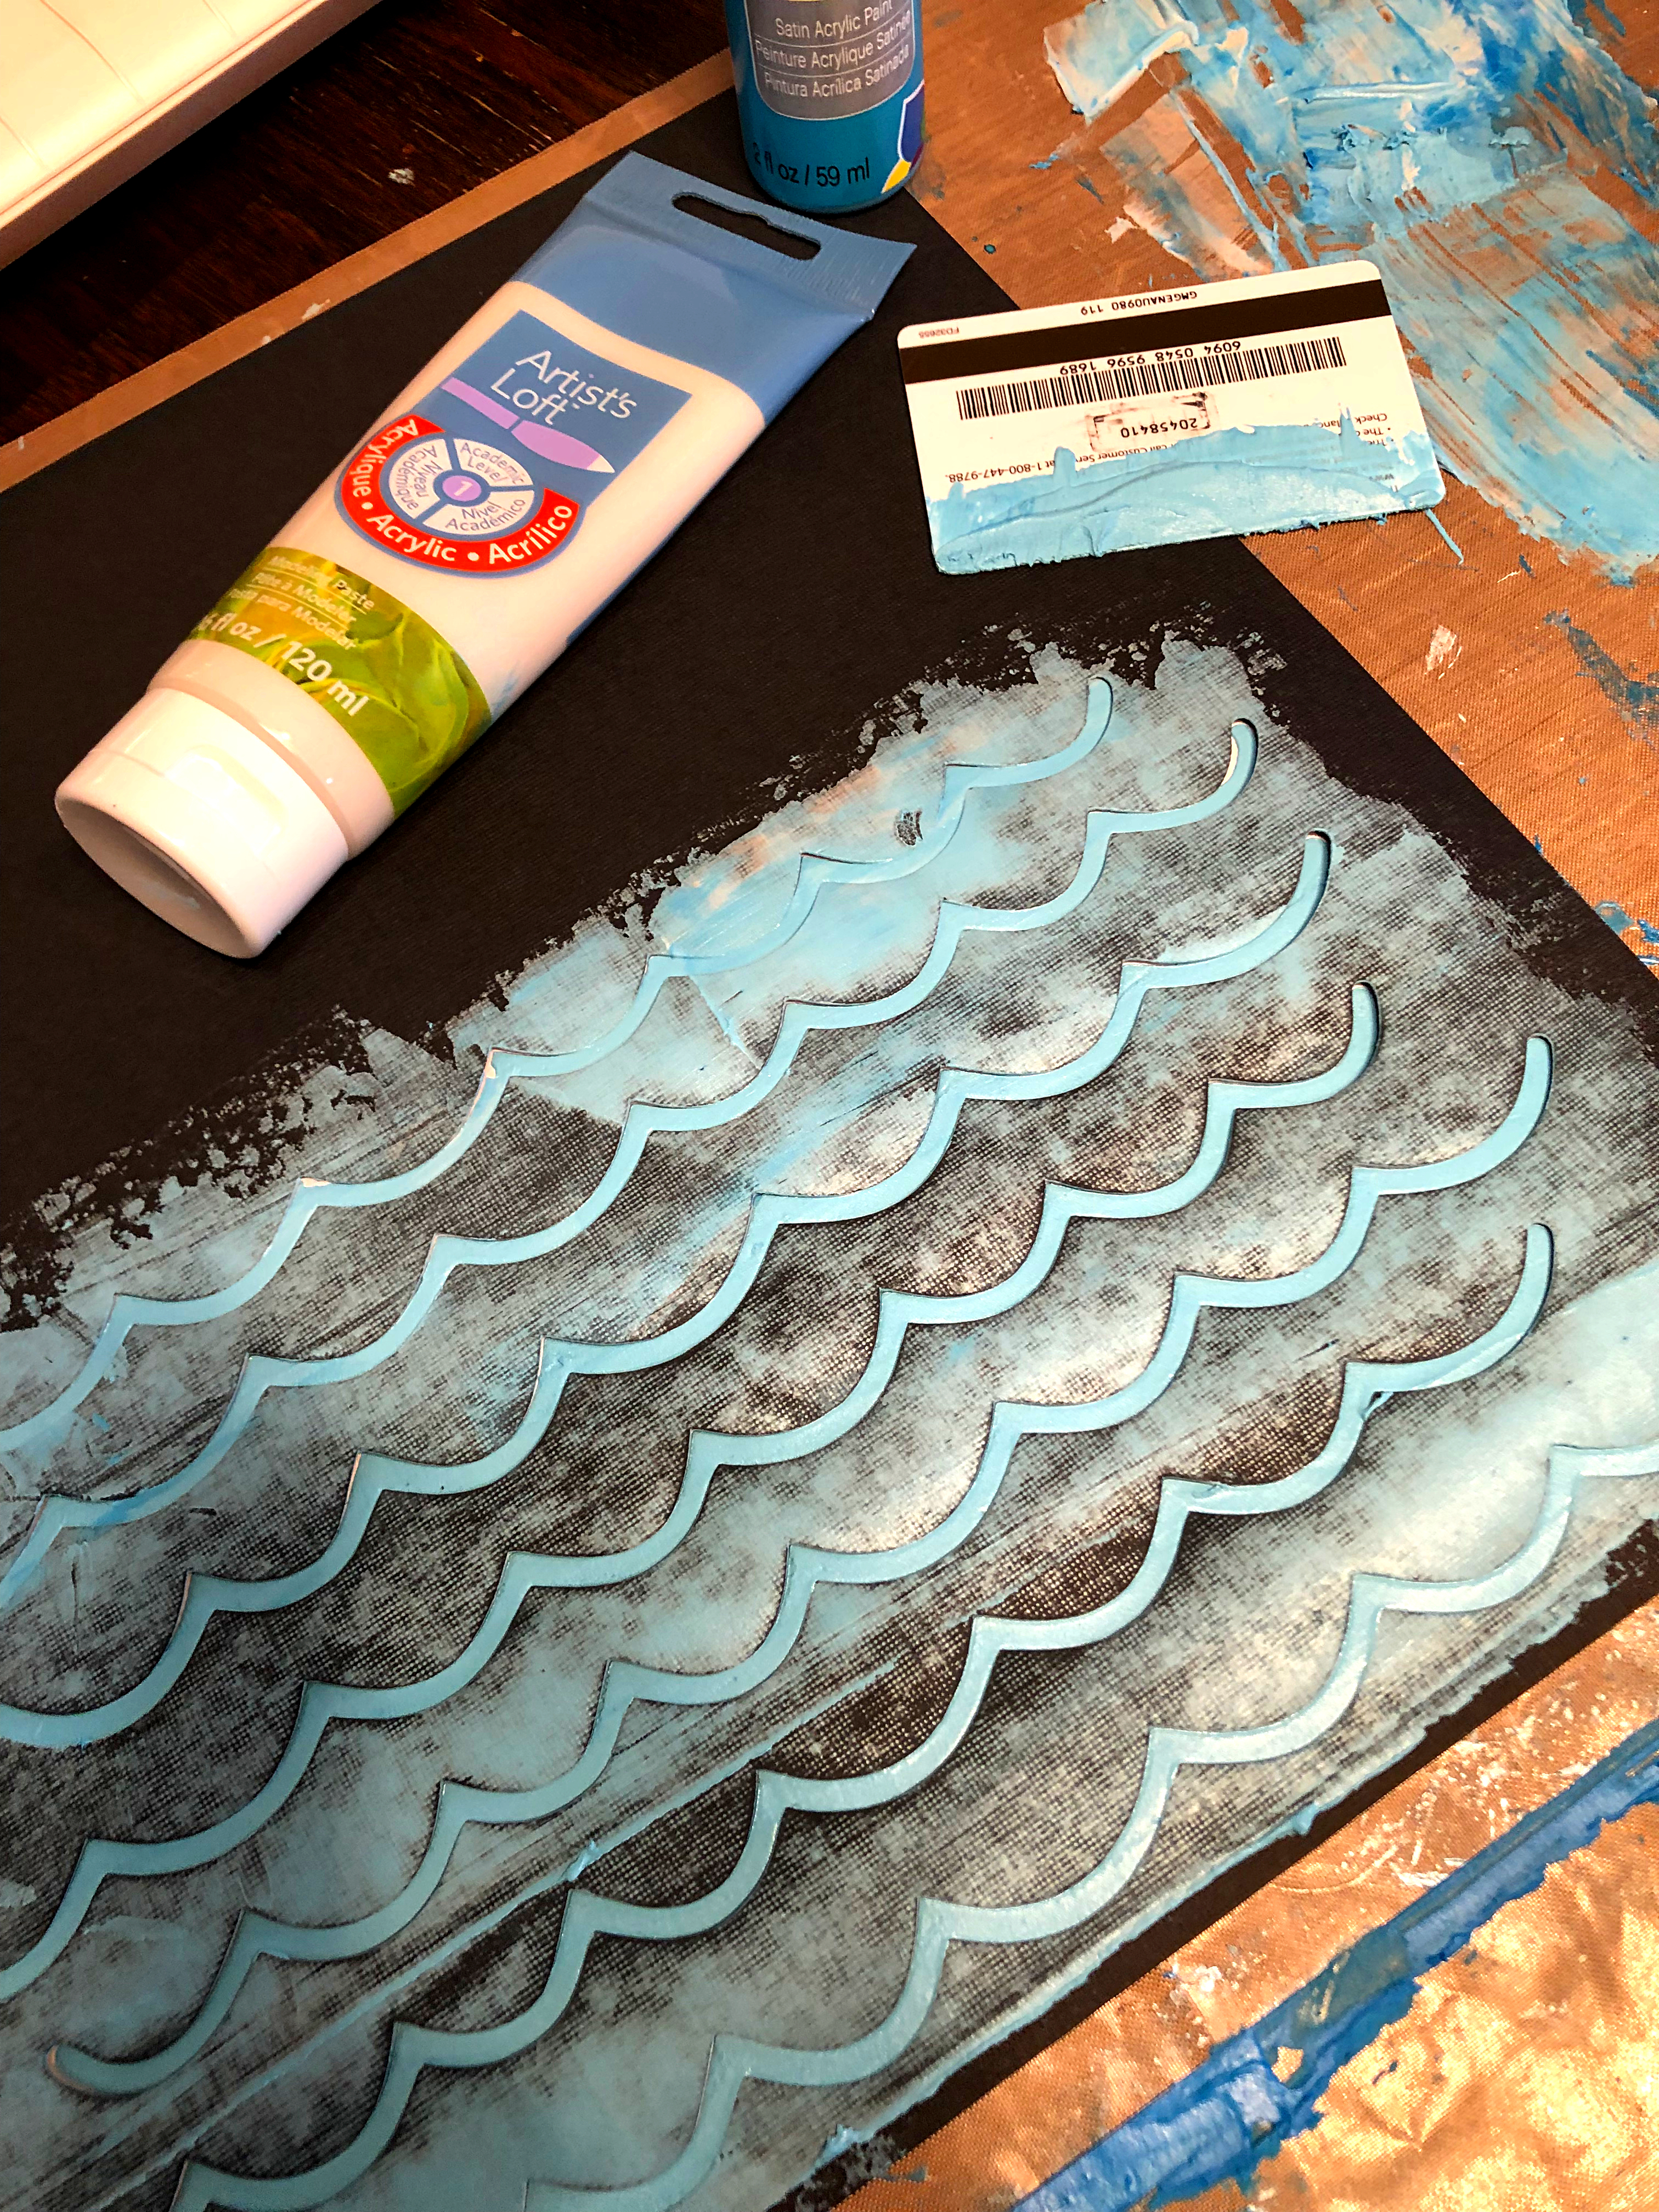
I won't lie, it took me a few attempts to get the waves "perfect".  After some trail and error I found that some blue acrylic paint along with some texture medium was the perfect fit and helped me to create these wonderful waves. 
I taped my template to my cardstock and used an old gift card to scoop up the textured medium and scraped across the waves in one fluid motion, moving in one direction, being careful not to move the template. 

savingPNG - Copy (2)

I then allowed it to dry a bit prior to removing it. The end result was almost perfect... as you can see, there is a smudge, but this was easily fixable. 
The end result is a subtle texture, but it really adds a nice "wow!" factor to the layout. 

savingPNG - Copy (3)
I then added some sprinkings of ink which helps create a nice finished mixed-media look. 
savingPNG - Copy (7)

The remainder of the layout was just completing the sweet swan and adding little details to bring her to life.

savingPNG - Copy (6)

This was acheived by adding some sequins, a brad, some twine, and a large floral cluster. 

savingPNG - Copy (4)

I hope that you have been inspired by my layout, alogn with the super talented Melinda's and Tamara's to try a mixed media layout using one of the many fabulous cut files that CUT to YOU has to offer! Head over to the store  and start creating!
Don't forget to share on the CUT to YOU HQ on facebook! 


52595440_2202853769963939_8488483255400529920_o

Thursday, March 14, 2019

beautiful you {CUT to YOU}

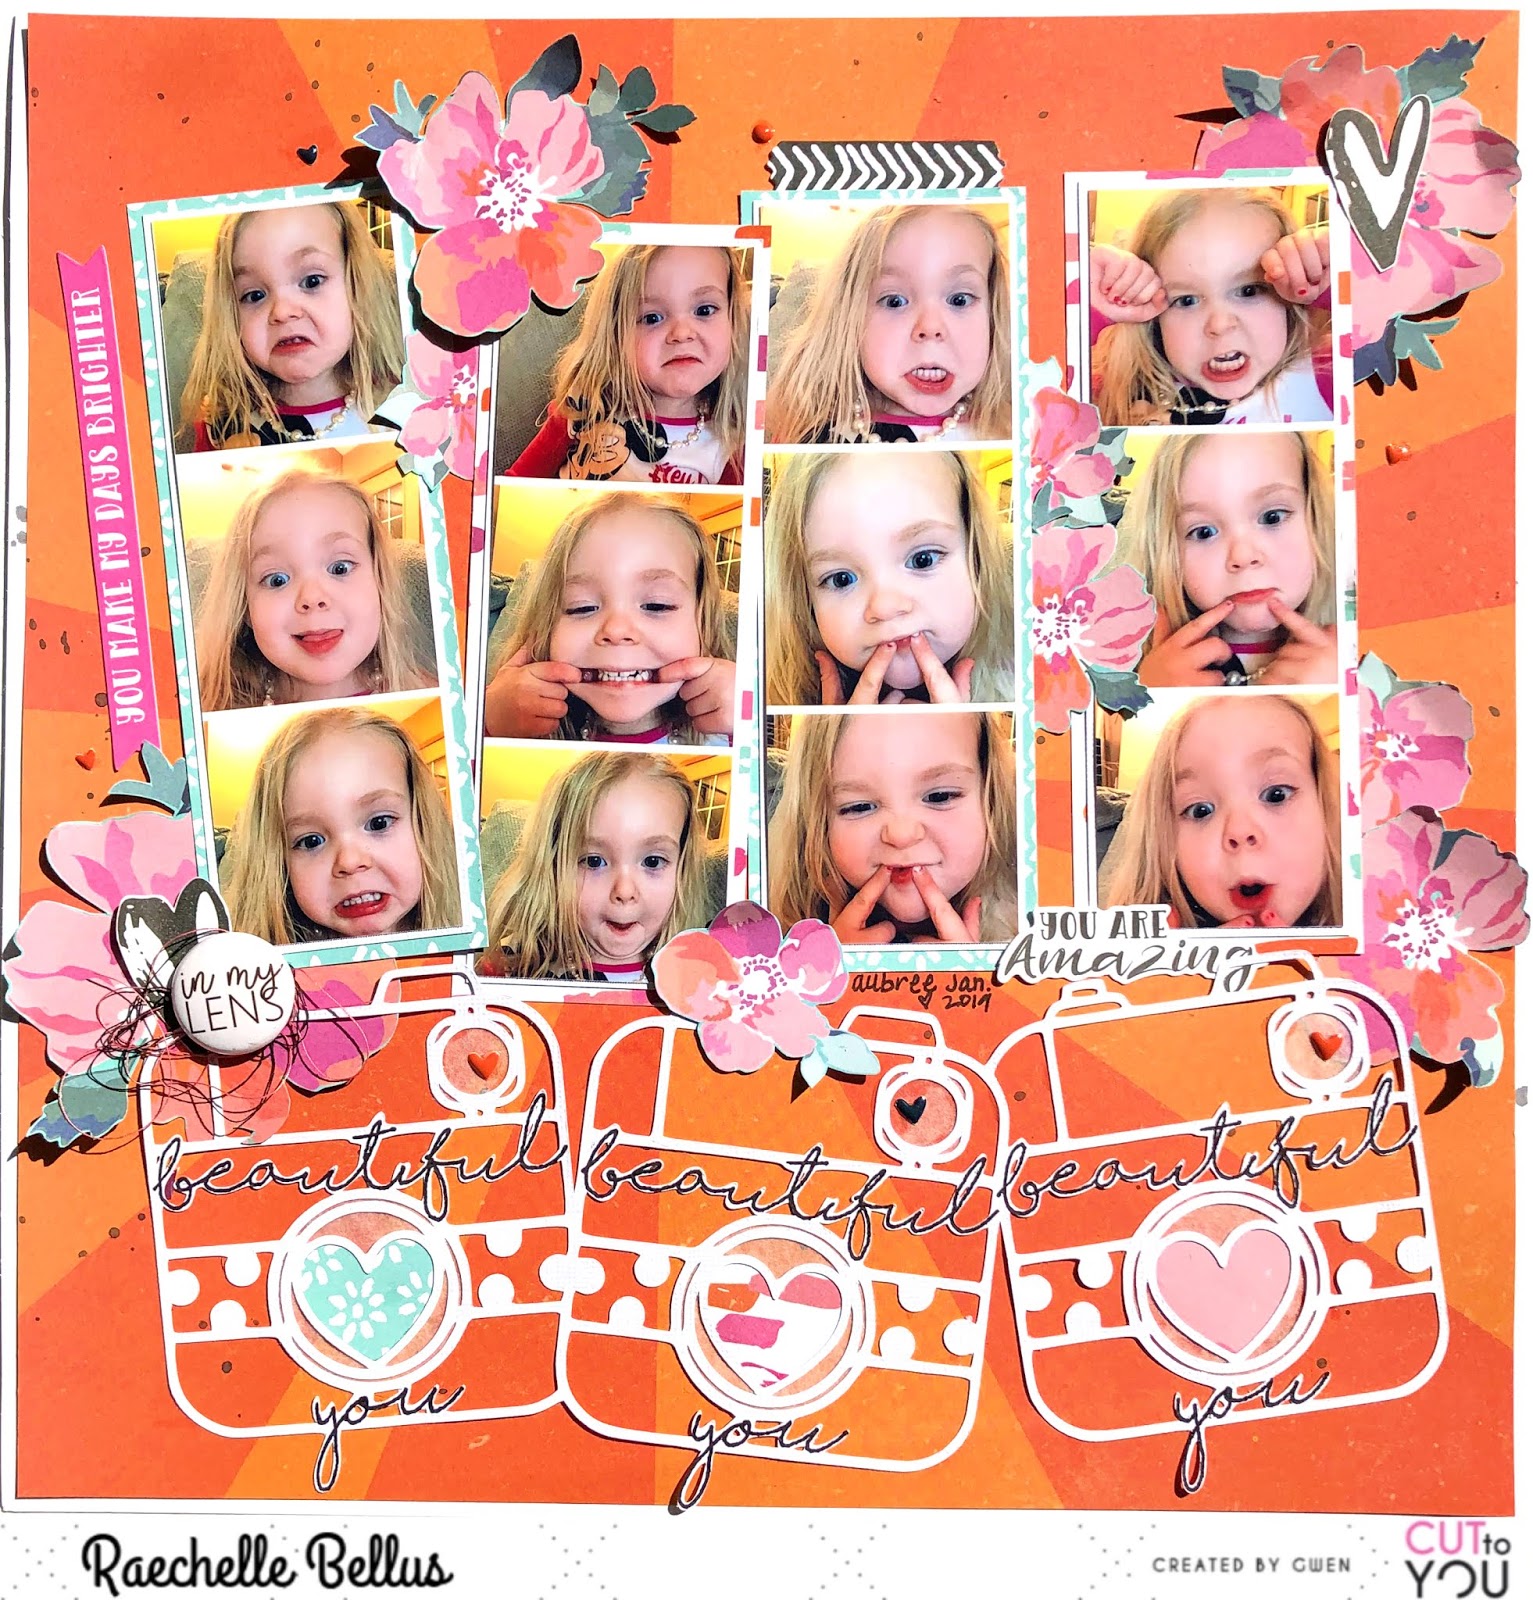
Hi friends! Today I am sharing another layout for CUT to YOU (created by Gwen) featuring the Camera Beautiful You cut file from the March 2018 release.


I wanted this layout to convey a whimsical yet simple feel featuring the camera cut file as a focal point without detracting from the silly photos. 


I manipulated the cut file to add to the playful feel of the layout. To do this, I duplicated the camera shape three times (each the same size), rotated at different angles, randomly layered them on each other, and then welded into one shape prior to cutting. 


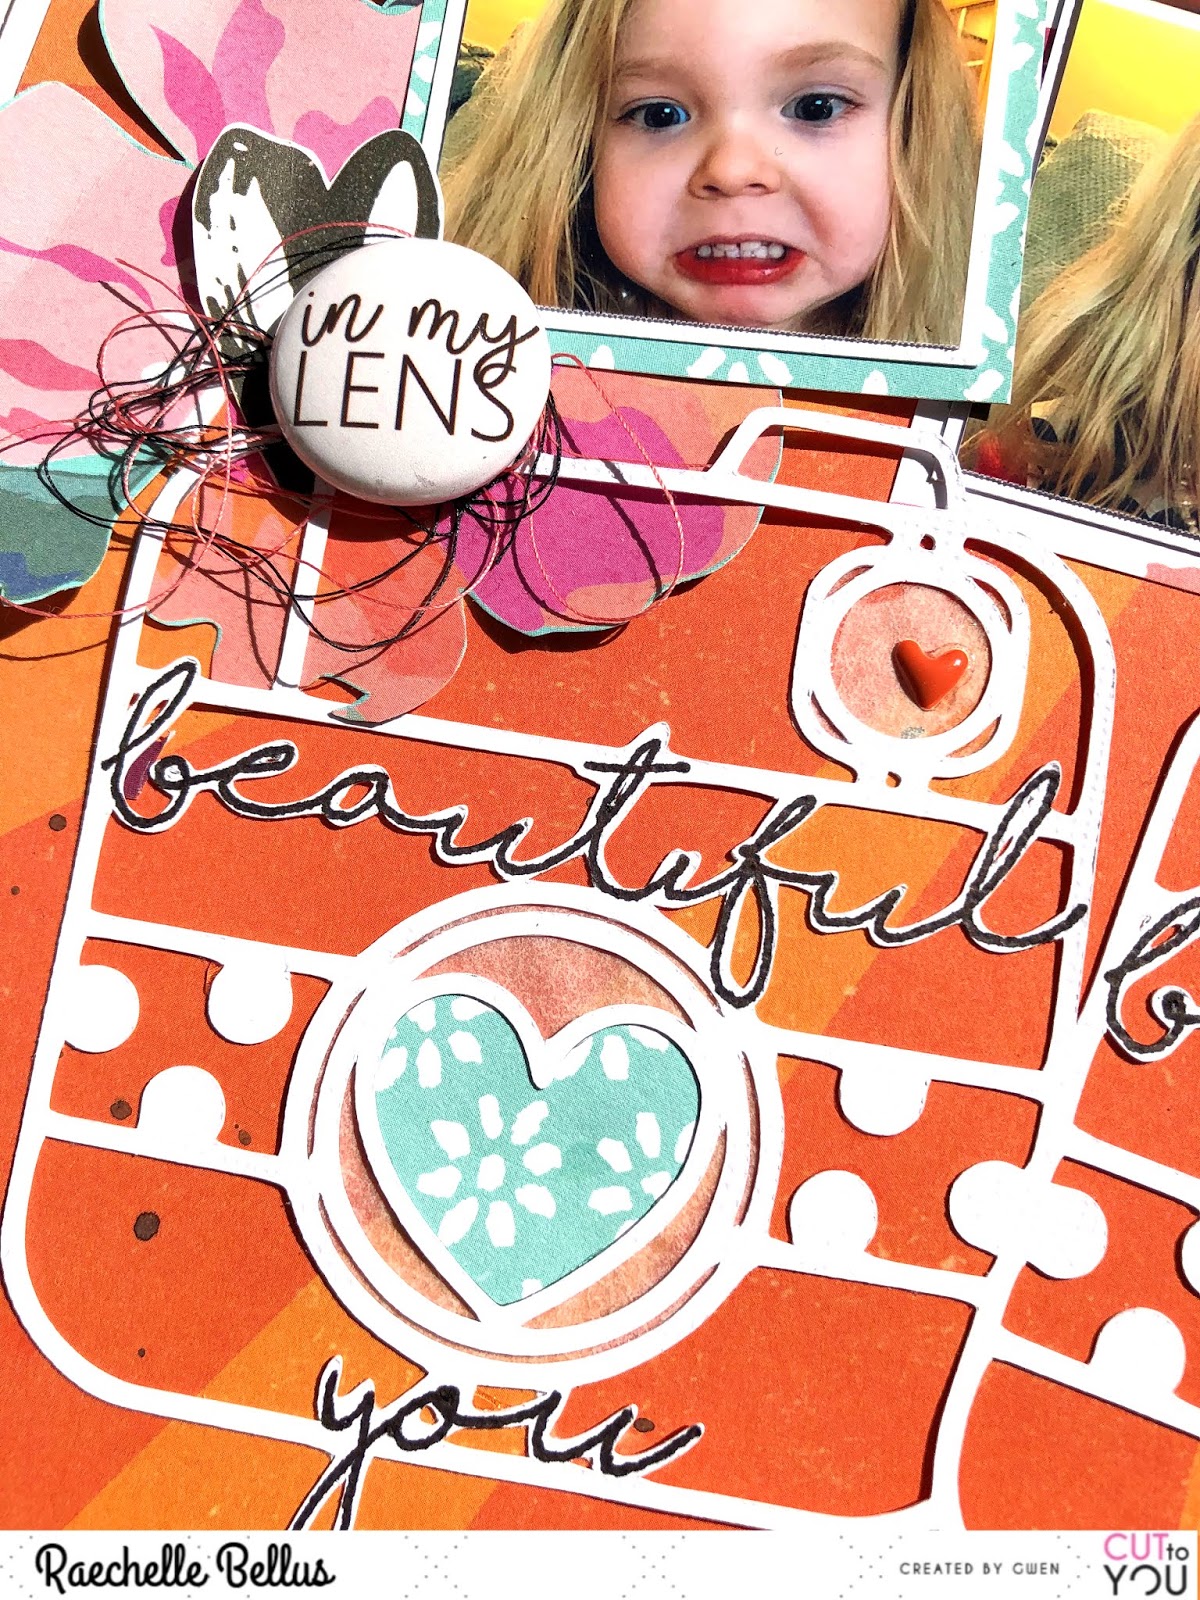
I wanted to keep the cut file open but with some detail, so tracing the 'beautiful you' on each camera carefully with a black marker added a nice punch without being overdone. Adding some patterned paper and/or tracing paper was also good for a visual effect without being overpowering. 


Adding a few fussy cut flowers, a bit of mist and some enamel dots finishes off this playful page and maintains the focus on these silly faces from my granddaughter. 

Thanks for stopping by. Please do pop on over to the CUT to YOU HQ FB group, we love seeing what you create with Gwen’s beautiful creations!

Saturday, March 2, 2019

you & me {CUT to YOU}

Hello all! :) Today I am sharing my first project as a designer for CUT to YOU created by Gwen.


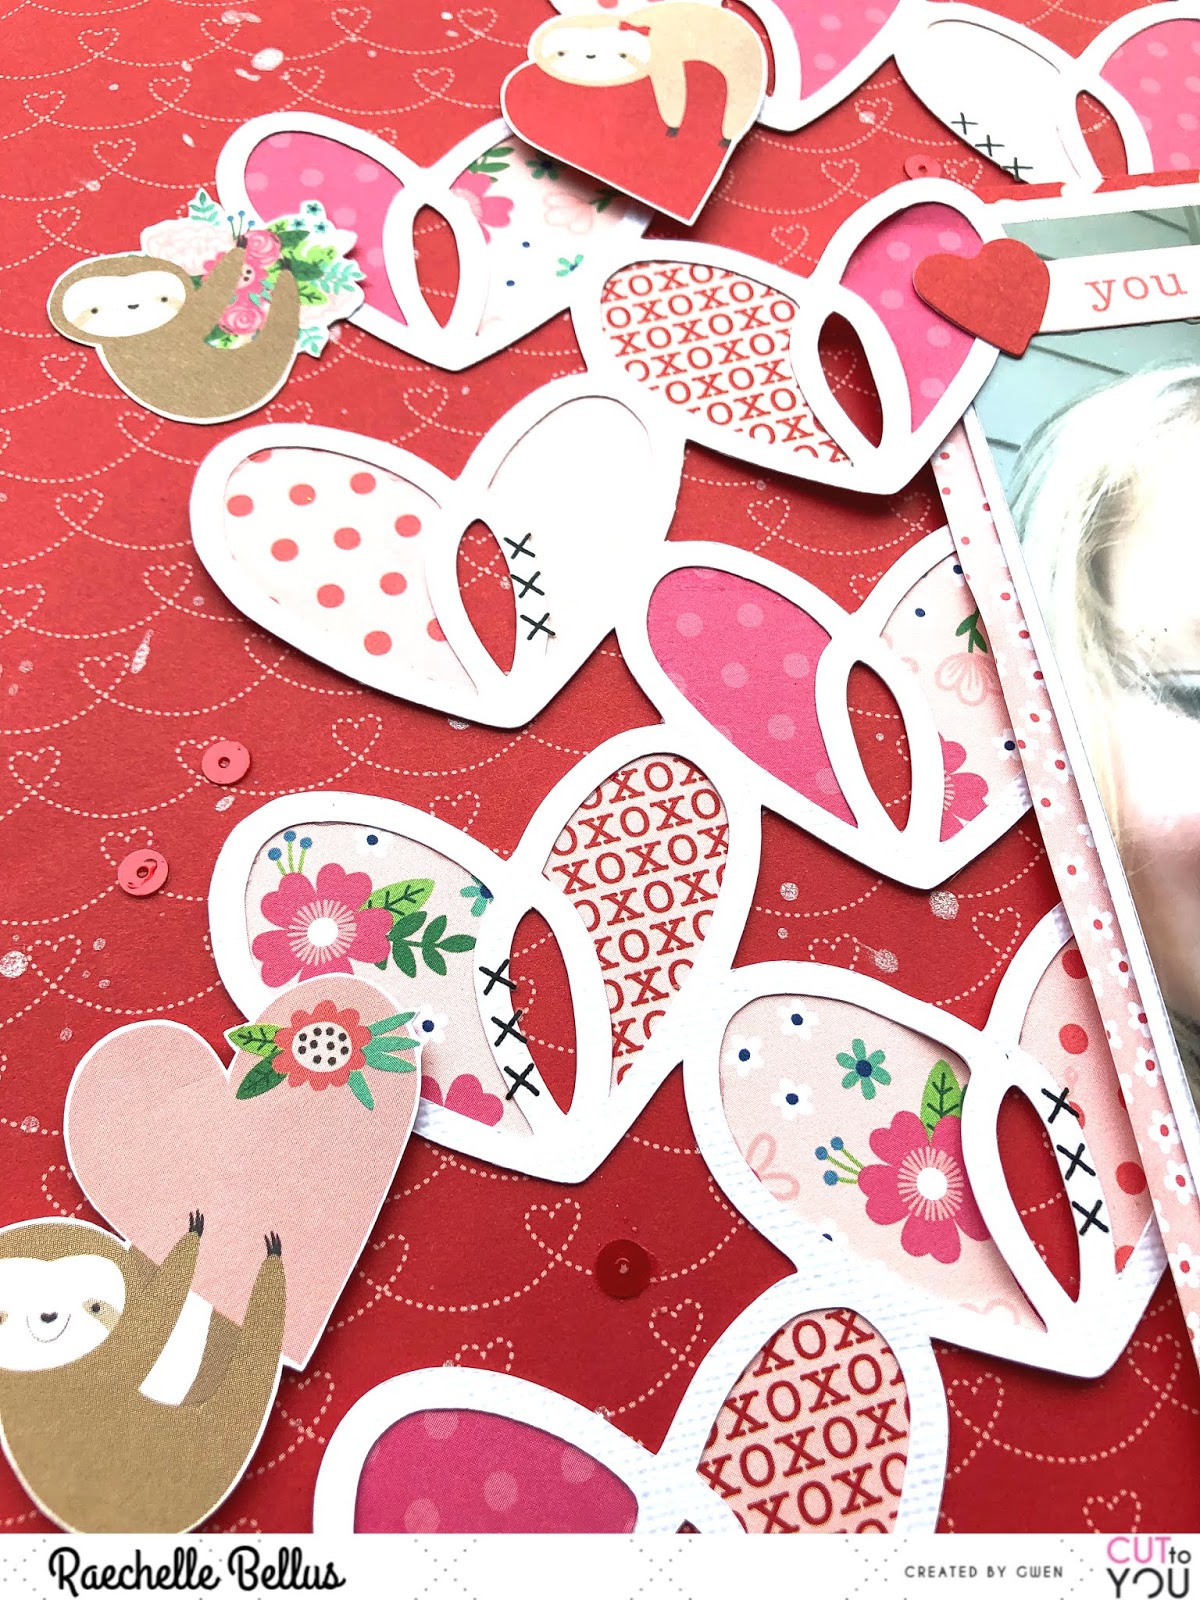
I used the lovely Heart Burst Background Cut File


As you can see, I used several different patterns on each side of the heart and scattered them leaving the center area open for visual interest.


I carefully snipped a few of the hearts  away from the cut file so they could be layered upon the photo to add some extra dimension.


Adding a few fussy cut sloths (which are adorable!), some rub on decals, along with a sprinkling of sequins finishes this layout off perfectly.


If you haven't checked out all the AMAZING cut files that are available at the CUT to YOU store, then what are you waiting for?! There is something for everyone.

I look forward to seeing what you create with them... you can do so by joining the CUT TO YOU HQ page on facebook. 

Thanks for stopping by! See you soon. :)


P.S. This month CUT to YOU is sponsoring The Happy Craft Challenge. Head on over there to see how you can join in.


Thursday, February 1, 2018

Love you always {card} and fun news!

It's been a long time since I have been on here, so what better way to kick things off again by sharing some fun scrappy news. :) 

I was asked by Laurel to be a design team member for her challenge site, Inspired By...!

On that note, click here to see the first official challenge with the new team. You have a chance to win a great prize, so please share your projects with us!

Here is the challenge photo:


and here is my card. I was mostly inspired by the pink and gold and the speech bubble. I also added a pop of the bright pink just as in the photo.